Pro-Tip
Every trail requires its own unique set up. Don’t assume your last set up will automatically work for your next trip. Do some research, see what others used and find out what worked and didn’t, then make your own informed decision.
Every gear list should be specific to the trail it’s for. What follows is my The Lake Trail (TLT) Gear List. The Lake Trail is a 133 mile bikepacking loop around Lake Tahoe. The complete loop consists of roughly 16,000′ of climbing.
The Lake Trail offers amazing views of Lake Tahoe and the surrounding Eastern Sierra Mountains. Consisting of single and double track, dirt and paved roads, the trail offers a wide range of riding. Some of it is easy, while other sections are very difficult.
The trail has plenty of water available, with the longest dry stretch around 15 miles or so. On trail food supply is limited to Miles 0 to 4 and Miles 67 to 113, but with the loop being so short this doesn’t prove to be much of an issue.
To learn more about the trail you can read my journal for my TLT thru-bike here.
Shopping with our affiliates helps fund the development of content like this.
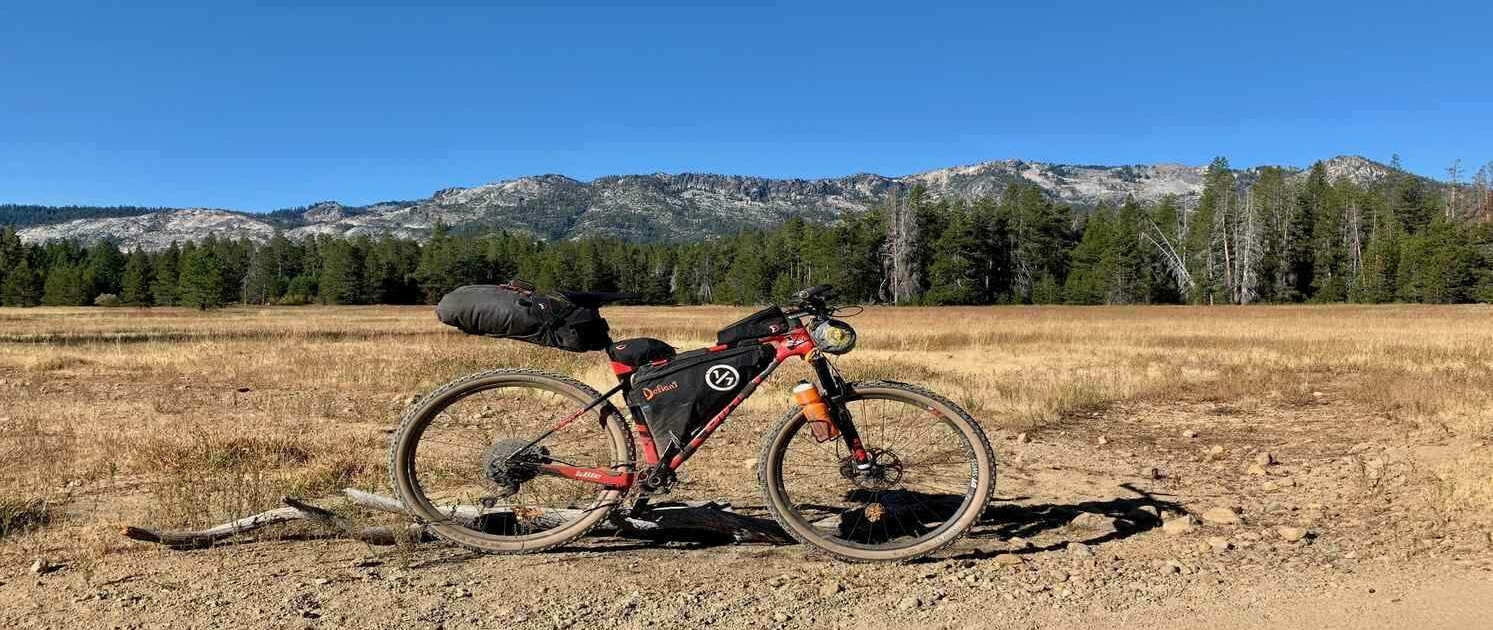
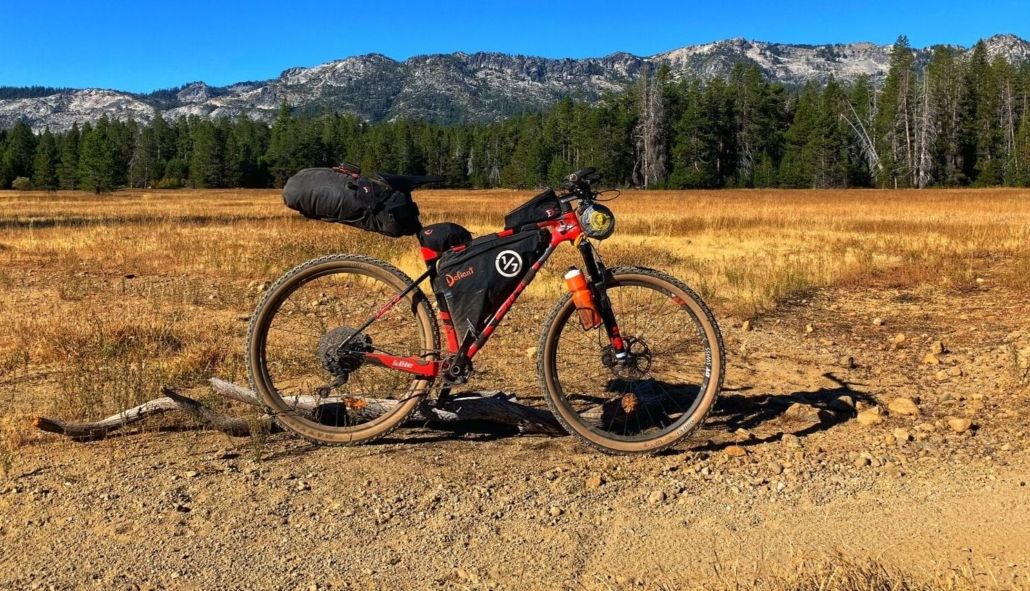
My bike set up for The Lake Trail was pretty simple. The set up itself wasn’t that different from my AZT set up. Different tires and saddle were really the only differences of note.
If one choose to, the loop could be ridden non-stop, and has. I wasn’t attempting this but I still kept my step up as simple and light as possible. Personally, I don’t see the need for a full suspension bike on this loop.
Every trail requires its own unique set up. Don’t assume your last set up will automatically work for your next trip. Do some research, see what others used and find out what worked and didn’t, then make your own informed decision.
The Set Up
Nothing.
When it comes to my bike set up, I was quite happy. There isn’t anything I would change if I were to attempt the ride again. Phillip (My bike) performed great. Everything from tires, to gearing, and the choice to ride a hardtail were spot on.
The big difference in my packing system for The Lake Trail over my other bikepacking trips, was that I didn’t run any type of harness or storage bag on my handle bars. My Big Agnes Fly Creek Bikepacking specific tent attached directly to my handle bars eliminating the need for a harness.
The rest of my bags were the same I used during my Bikepacking Triple Crown. I did find that between a lighter front end and the decomposing granite (very loose and sandy) my front end tended to washout if I wasn’t careful.
Be sure to load you bicycle so that the weight is evenly distributed as possible. A load bike handles very differently than an unloaded one, which can greatly impact your overall ride experience.
Cockpit Set Up:
Revelate Gas Tank
Revelate Jerrycan
Zipties, Park Tool CT-5 Chain Tool, Crank Brothers M10 Multi Tool, Pedro Tire Lever, (2) seat bolts, Shimano Cleat, (2) Cleat bolts, (2) Quicklinks, Glueless Patch Kit, Tire Plug Kit, Park Tool Tire Boot TB-2, (2) Valve cores, C02 inflator, Mini Leatherman
Handle Bar:
Fork Legs:
Water Bottle Mounts
Frame Bag Set Up:
Defiante Packs Custom Frame Bag:
Left side:
Right side (Main pocket):
Seat Bag Set Up:
Revelate Terrapin
I would try and move my tool kit from the top tube to the down tube to help lower the center of gravity.
Like with most aspects of this adventure, I was happy with my set up. My packing system was no different. The only issue I had was one of weight distribution. The front end of my bike tended to want to wash out, as if there wasn’t enough weight on the front tire.
With that said I have experienced this before when bikepacking with other configurations so I’m not completely convinced my packing set up was to blame.
One’s sleep system is about a personal as gear comes. Some people sleep warm, while others cold. The weather for my attempt at The Lake Trail was supposed to be ideal. Temperatures in the day were 50-70 and at night the lows were just below 40. Ironically the only two times I was cold was during the day, not at night.
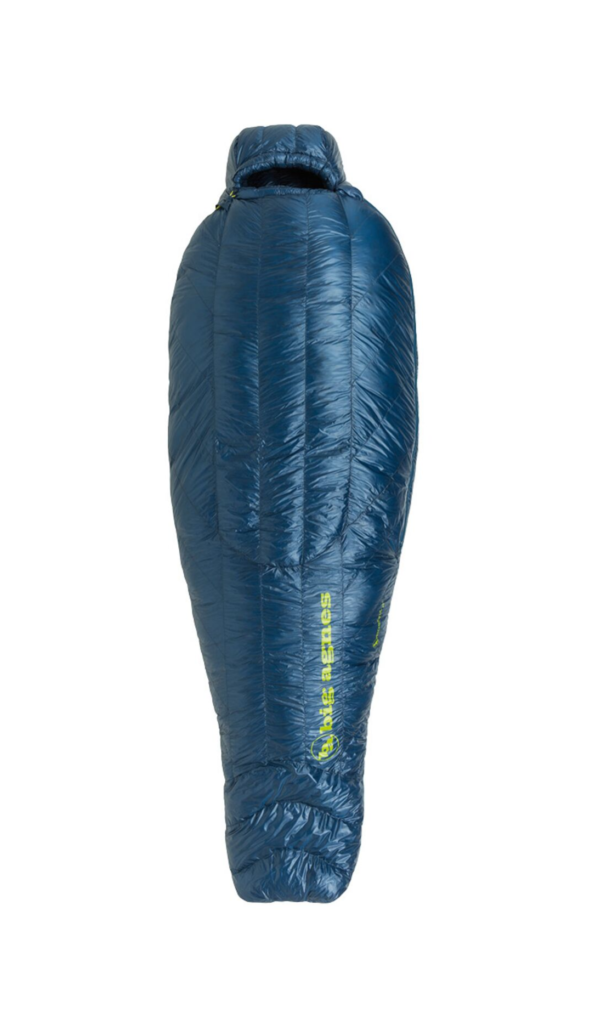
I choose to take the same set up I used on the John Muir Trail. I was only planning on being out two nights but still took the extra comfort of an air pad over a foam one. Part of this decision was the packability of the air pad over taking my trusty Z-Lite.
Possibly use a foam pad instead of an air pad.
Just like on the John Muir Trail I was quite comfortable. The 30 degree bag was perfect but not being used to sleeping on an air pad (much taller than my Z-Lite), I found it hard to stay on it at times.
Big Agnes does make a pad/sleeping bag system, where the air pad fits into a sleeve on the bottom of the bag. This might be the key to me staying on my pad.
I’ll get it out there right up front… when it came to packing for this trip, blew it big time. I didn’t pack either arm warmers/sun sleeves, a wind jacket or an under shirt. The weather was supposed to be great but…
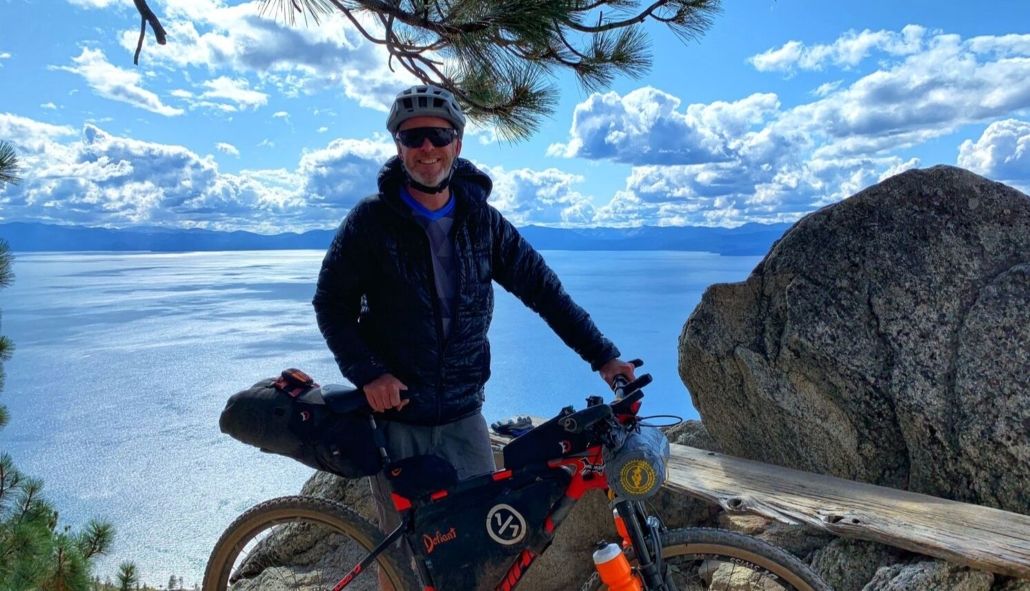
I attempted to find a bike shop open before I started but I failed. I ended up riding in my puffy jacket, which I have never done before. I also got rained, sleeted, and snowed on and had near freezing temps one afternoon during a crazy snow storm with thunder and lightening.
Bottomline, double check your bag to make sure you have the proper clothes and remember that weather can be unpredictable.
Carrying too much or not the right clothing not only adds weight to your pack but bulk as well. Find clothes that work for your body type. Don’t carry items that aren’t getting used, and lastly find items that serve one than one purpose.
*The Helium HD is no longer made but an equivalent replacement would be either the Helium II or the Interstellar Jacket.
*The Verismo Hooded Down Jacket is no longer made but an equivalent substitution would be the Helium Down Hoody.
Nothing.
Despite forgetting my arm warmers and second layer for my upper body, I managed. Yes, I was cold a few times, but I survived. If I had the two missing pieces of clothes, I feel my kit would have been perfect for the conditions I encountered.
Overall I was pleased with the gear on my The Lake Trail Gear List. Not having my arm warmers/sun sleeves and a base layer, made the trip less comfortable than it should have been. Despite the bad packing that led to this, the trip was a success.
If I was going to offer advice to others for putting together their own The Lake Trail Gear List, I would say “Know limits and what you can can can’t deal with. Familiarize yourself with the route and plan accordingly. Do your own research and test your gear, and you’ll be fine. If in doubt, rely on your past experience to help make decisions. Remember, use what works for you in your own The Lake Trail Gear List!”
Lastly, be sure to test your gear and do a proper Shake Down Ride.
Read these next or checkout the main resource page.
Gear lists from the AZTR, CTR, and TD; Pros & Cons; Things I’d do different; and Tips.
In depth look at what I would bring for gear and why, if I rode the AZTR, CTR, Kokopelli Trail, and Tour Divide.