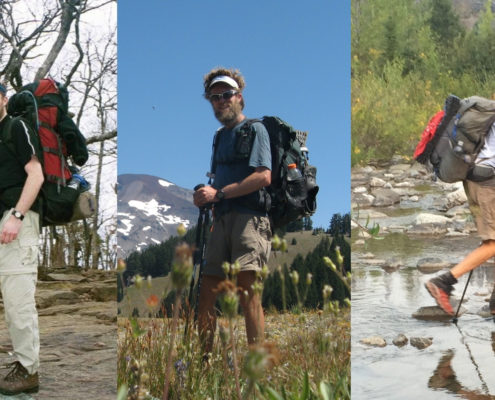
This page covers the hiking gear I used on the thru-hiking triple crown (Appalachian Trail, Pacific Crest Trail, and Continental Divide Trail). I cover everything from the shoes on my feet, to the pack on my back, and everything in between. My Proven Triple Crown Hiking Gear List should help you decide what is right for your gear list.
When I started hiking I was like most people, I didn’t have a clue. As a result, I made most of the classic backpacking/hiking rookie mistakes. Things like the wrong clothes and too many, thinking I needed more than I did, forgetting basic items and more. Throughout my hiking triple crown and thousands of miles of hiking I learned a lot, but also gained what I call “Trail Confidence“. It’s what allows one to take less, go further, see more and feel safe doing it.
Finally, it’s important to recognize that how you approach selecting your gear, which gear you bring and how it’s packed and used on trail is the same for an overnight hike, to a multi-day thru-hike like the Appalachian Trail. Furthermore, most of the gear is the same gear you’d take bikepacking. Checkout my page on bikepacking gear, or scroll down to continue with the hiking gear.
My posts AT vs. PCT and PCT vs. CDT might help you understand just how different the three trails of the Triple Crown.


 https://oneofsevenproject.com/wp-content/uploads/2020/04/rsz_1untitled_design_83.jpg
857
1493
Craig Fowler
http://oneofsevenproject.com/wp-content/uploads/2017/01/1of7-logo-lockup-grey-1132x212-300x56.png
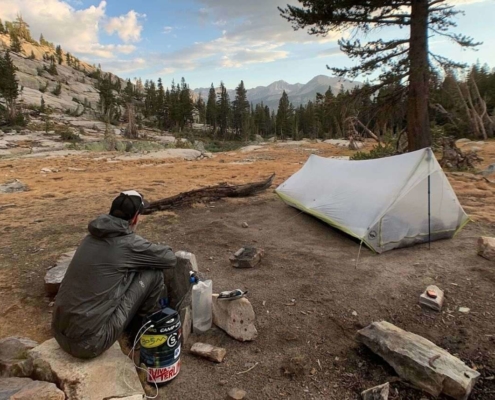
Craig Fowler2020-04-21 12:02:372024-06-20 09:17:19How to Pick the Perfect Campsite
https://oneofsevenproject.com/wp-content/uploads/2020/04/rsz_1untitled_design_83.jpg
857
1493
Craig Fowler
http://oneofsevenproject.com/wp-content/uploads/2017/01/1of7-logo-lockup-grey-1132x212-300x56.png
Craig Fowler2020-04-21 12:02:372024-06-20 09:17:19How to Pick the Perfect Campsite