As an affiliate partner, One of Seven Project earns a commission for purchases made through any product, brand logo links, or banner ads on this page. Thanks for your support!

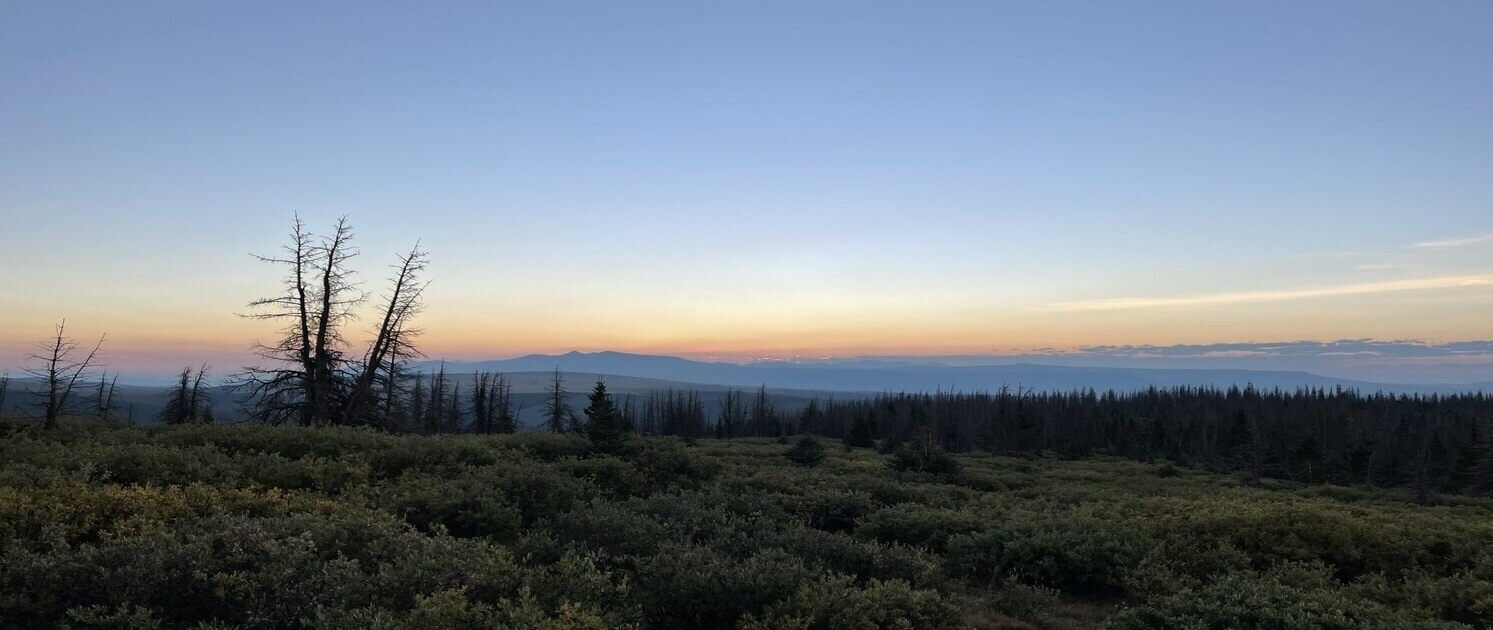
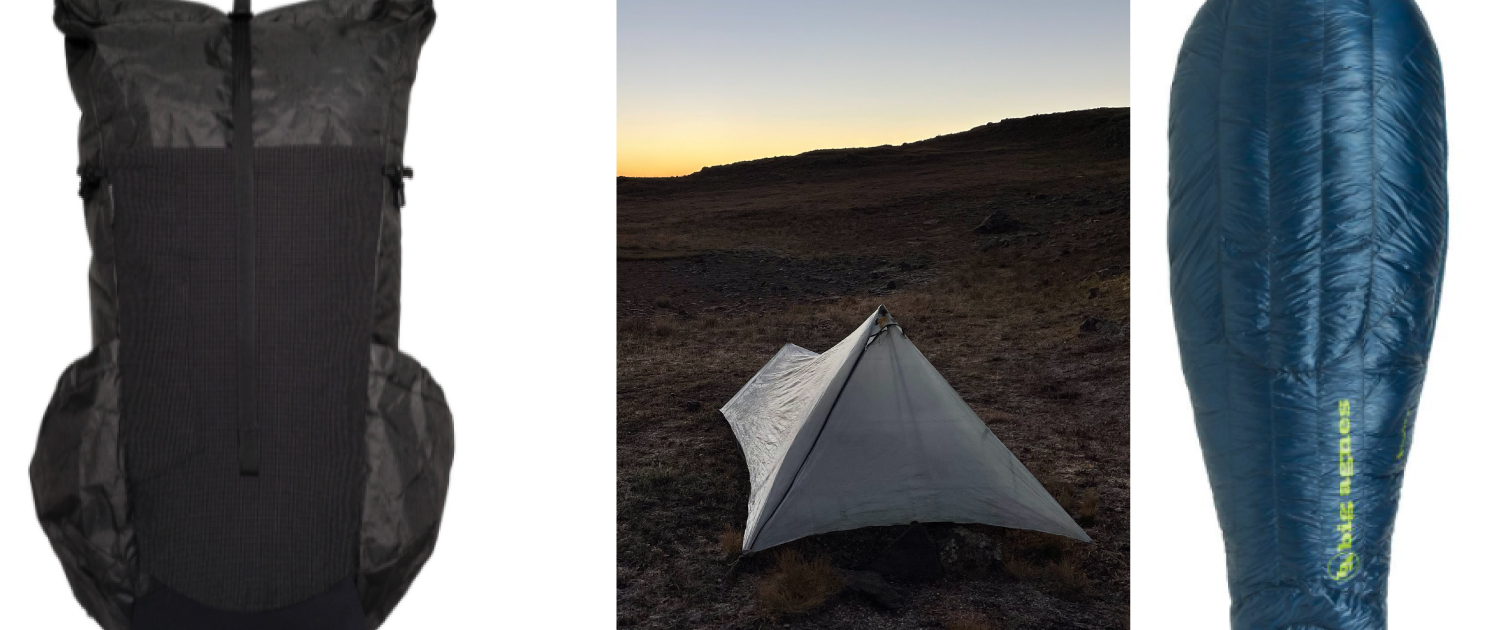
As usual I made changes to my my Big 3 (Pack, Shelter, and Sleep System). I tried a new pack (smaller), tent, and sleeping pad. With the way my mail drops worked out and the time of year I choose to hike I didn’t need a large volume pack. The tent I had been wanting for a while and knew it would be what I wanted. After my experience on the JMT and using a narrow air mattress I knew I wanted to go back to a foam sleeping pad.
The Big 3 are the three items where one can save the most weight. Cutting Pack weight takes research and testing. Don’t skimp on either.
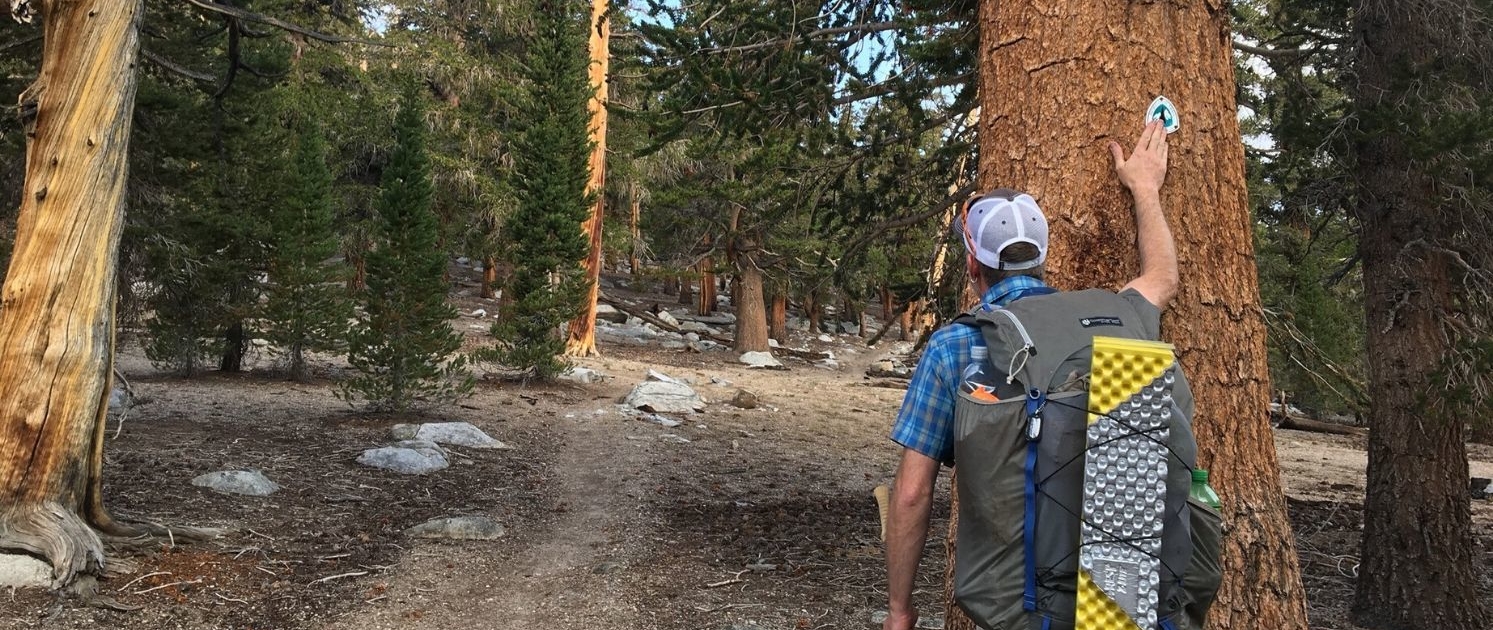
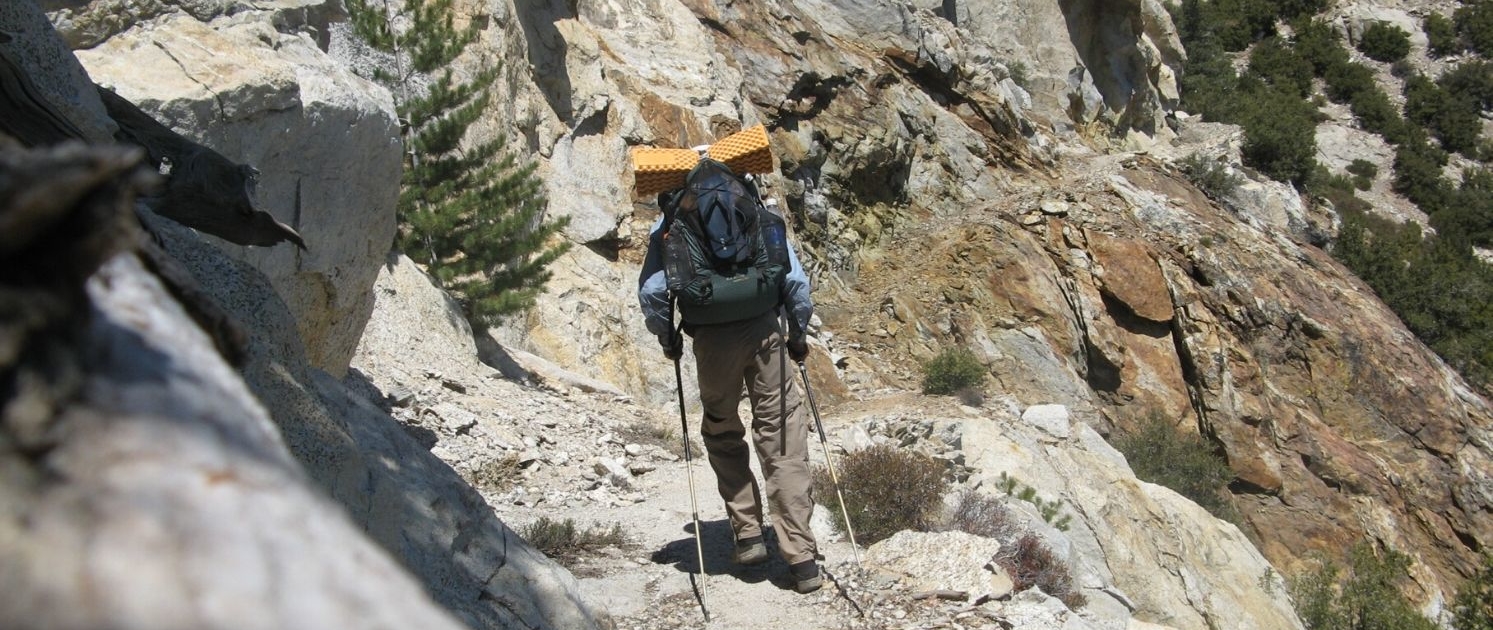
The V2 was the perfect pack for me and this trip. I never felt like it was close to being overloaded or overweight. When I did have 4 days of food in it, I felt the weight but the pack managed it well. The hip belt helped disperse the weight from my shoulders to my hips, saving my back.
The pack held up well and no tears or rips occurred. The bottom pocket was great for trash and stowing unneeded items like my head net and wind gloves.
I would consider carrying a fanny pack to carry my day time snacks.
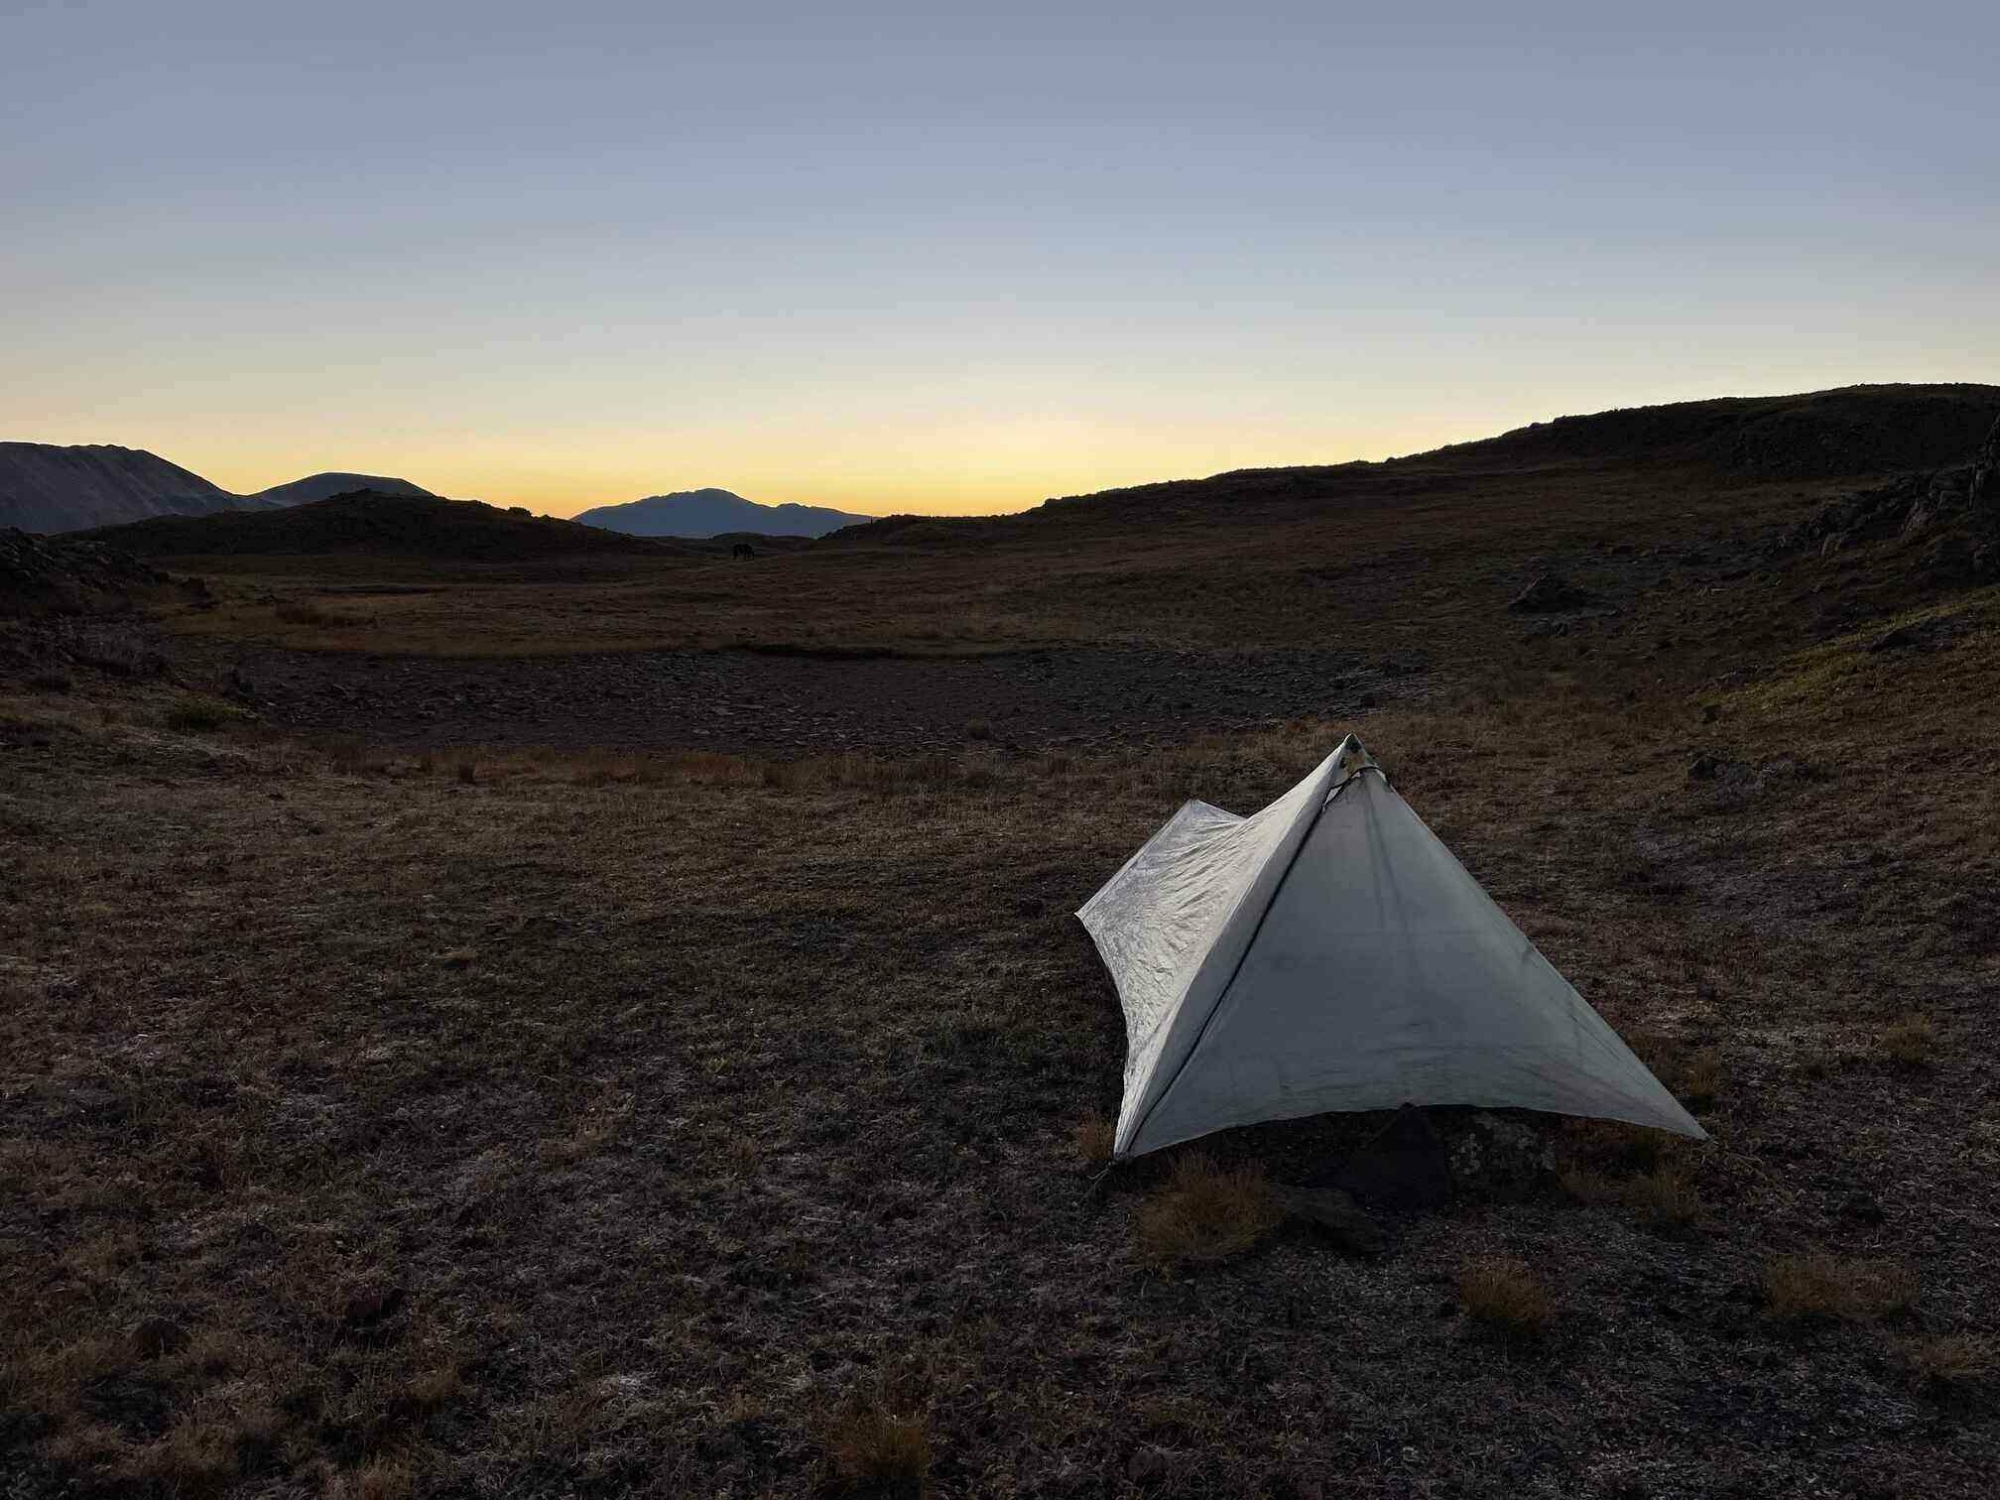
I have had my eye on the Tarp Tent ProTrail Li for a while now. It’s very close to the Contrail that Tarp Tent used to make, which I used on the PCT. The ProTrail is simple to set up, light, has amazing ventilation, and along with the ventilation the user gets great views from inside the tent. Due to the superior ventilation and some planning on my part, I only had condensation 3 nights out of the 18 I was on the trail.
I know most people don’t like tents with end entries but I think they over look a lot of advantages. They usually have smaller footprints, which means you can set them up in more areas. They also are not effected by uneven surfaces like other tents (Hexamid, Plexamid, and other of this style).
I honestly wouldn’t change a thing. The ProTrail Li worked amazingly and I never had a single issue with it. I love this tent.
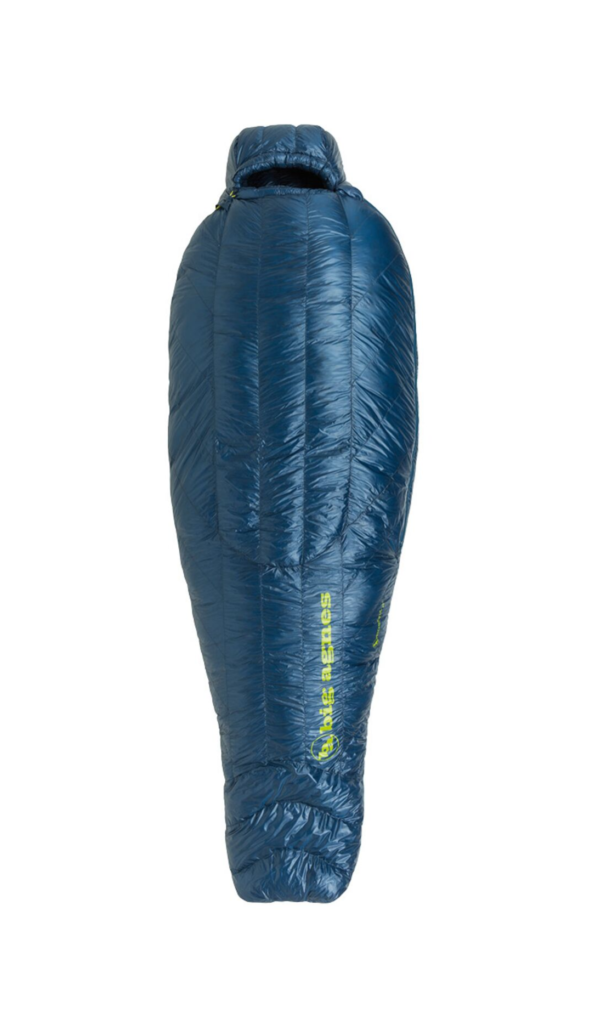
I went with my Big Agnes Flume 30. I was a bit concerned that if the weather turned cold in the San Juans I might be cold but I only had a few nights where the cold effected my sleep.
For this trip I was able to try out the new Big Agnes TwisterCane BioFoam Pad. For the first week I was pretty sore at night but after that I got used to sleeping on the thinner pad.
Once again I carried a Big Agnes AXL Air Pillow. At 1.6 oz it didn’t add much weight or bulk to my pack, but it did add tons of comfort. (I also put my buff around the pillow as a pillow case, Pro Tip).
I would consider bringing an air mattress next go around but everything else in this category worked great. Don’t get me wrong, the TwisterCane pad worked but at almost age 50 the extra cushion of an air mattress would be nice.
Overall I felt the changes I made to my Big 3 were a success. They weren’t ground breaking or overwhelming better than what I used before but they still added the comfort I was looking for in my JMT Gear List, which I used on my last trip.
My Hydration/Cook Set Up was super bomber this go around. I had some issues on the JMT which is why this go around I switched back to an ISO butane stove for the first time in 18 years. The cook set up worked great and so did the hydration set up.
The only issue I had was I put too much pressure on the dirty water bag while filtering water and I cause the seam of the bag to burst. The failure was totally user error. Now’s a great time to mention one should regularly back flush their filter.
As I mentioned at the beginning of the section both set ups worked great. I wouldn’t changed anything about either set up. I would make a point to back flush my filter more, even though all my water sources looked super clean. I learned the hard way you should back flush regularly. Luckily, I was able to bum a small SmartWater bottle off a day hiker which works with the Quickdraw filter.
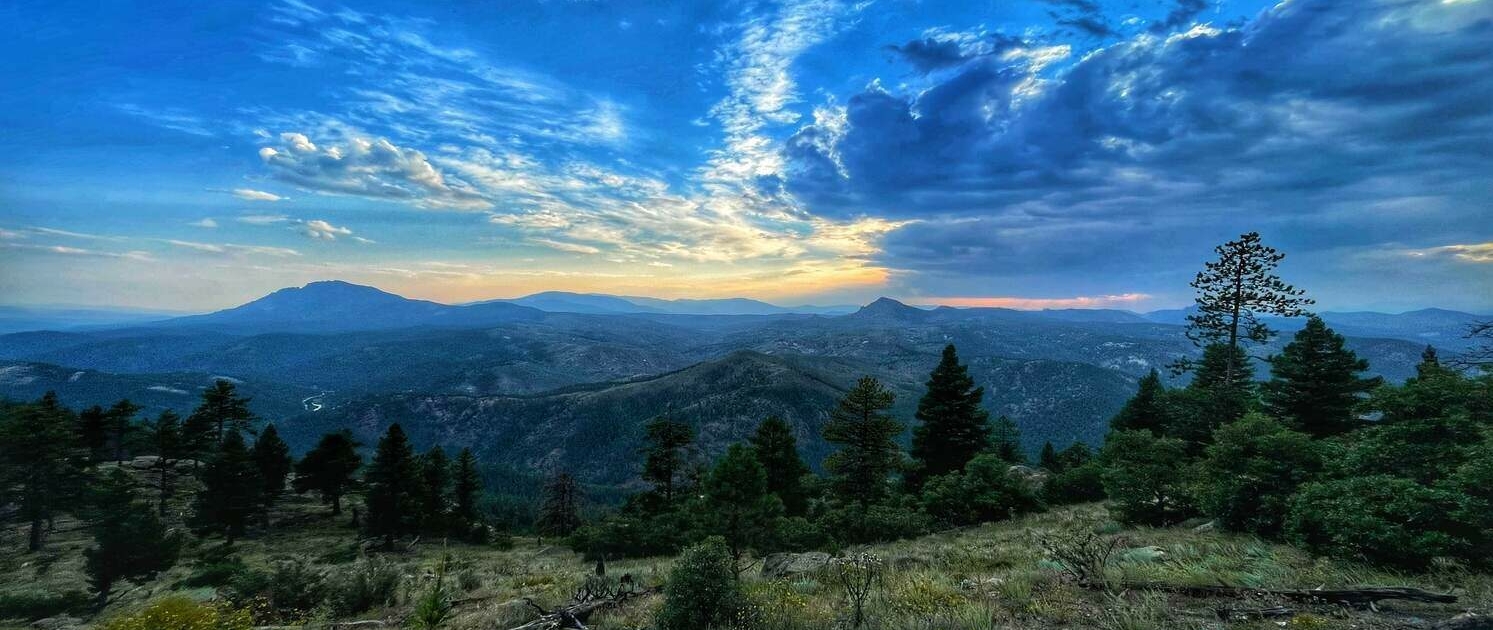
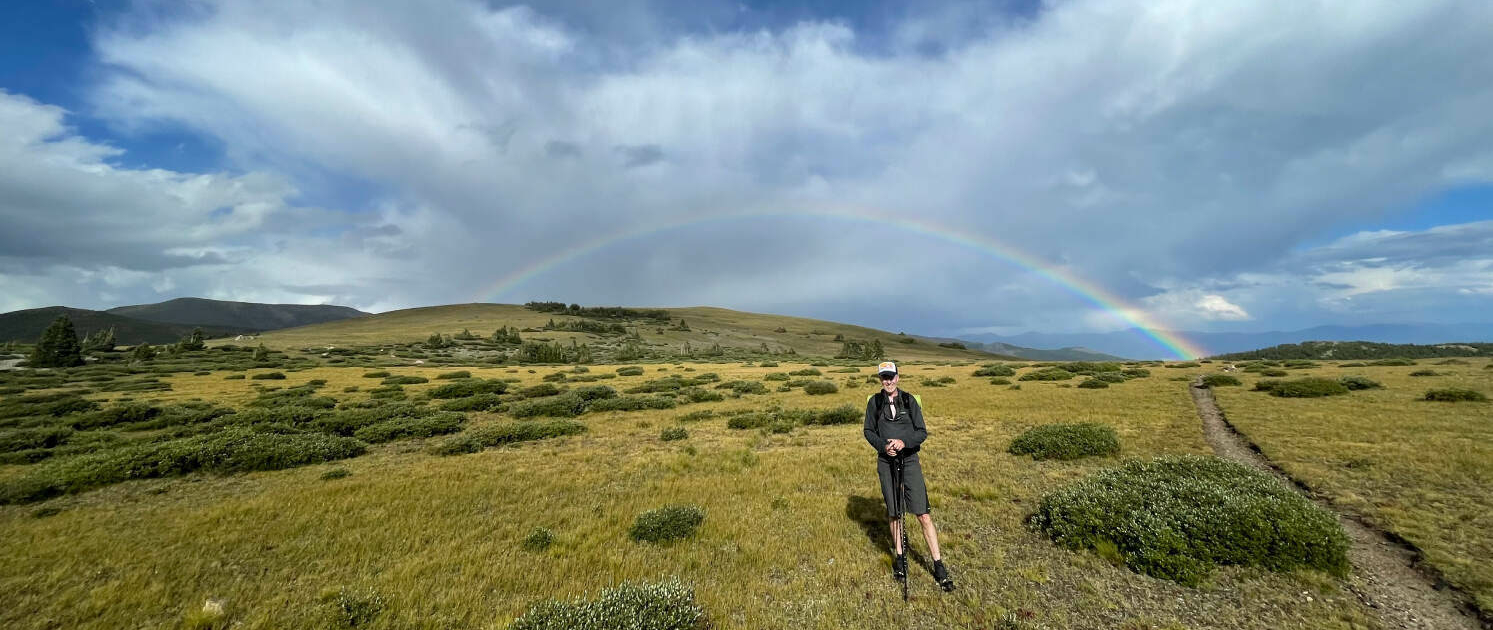
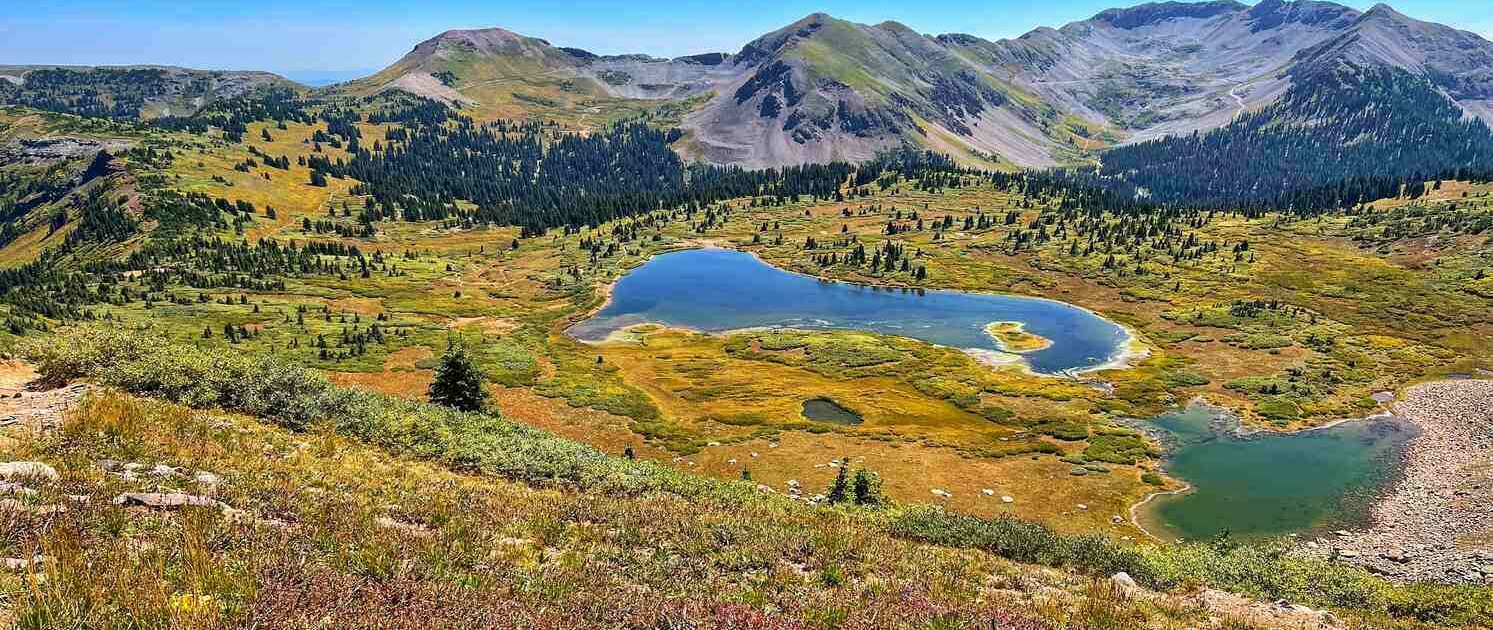
As a whole I was please with what I brought for gear and how it performed. I did worry about whether or not I had enough cold weather clothes as I had heard rumors of snow and freezing temperatures in the high country. Luckily, I never really experience anything too cold.
A better watch or no watch, and a more comfortable pad are about the only things I wished I had, but neither really affect the outcome of the hike.
My advice to others when planning their own Colorado Trail Gear List would be to know yourself and what you can can can’t deal with, know the trail and what it’s going to throw at you, and plan accordingly. Do your homework and test your gear, and you should be fine. If in doubt, rely on past experiences to help your decision making process. Remember, use what works for you in your own Colorado Trail Gear List! Be sure to test your gear and do a proper Shake Down Hike.
Lastly, if you want to read about my hike you can read my Colorado Trail journal here.
Watch my gear list video for more!
Read these next or checkout the main resource page.
 https://oneofsevenproject.com/wp-content/uploads/2020/04/rsz_1untitled_design_83.jpg
857
1493
Craig Fowler
http://oneofsevenproject.com/wp-content/uploads/2017/01/1of7-logo-lockup-grey-1132x212-300x56.png
Craig Fowler2020-04-21 12:02:372024-06-20 09:17:19How to Pick the Perfect Campsite
https://oneofsevenproject.com/wp-content/uploads/2020/04/rsz_1untitled_design_83.jpg
857
1493
Craig Fowler
http://oneofsevenproject.com/wp-content/uploads/2017/01/1of7-logo-lockup-grey-1132x212-300x56.png
Craig Fowler2020-04-21 12:02:372024-06-20 09:17:19How to Pick the Perfect Campsite https://oneofsevenproject.com/wp-content/uploads/2019/12/LC4-23.jpg
857
1493
Craig Fowler
http://oneofsevenproject.com/wp-content/uploads/2017/01/1of7-logo-lockup-grey-1132x212-300x56.png
Craig Fowler2019-12-28 18:36:142024-06-20 13:20:24Top 5 Reasons Thru-Hikers Quit
https://oneofsevenproject.com/wp-content/uploads/2019/12/LC4-23.jpg
857
1493
Craig Fowler
http://oneofsevenproject.com/wp-content/uploads/2017/01/1of7-logo-lockup-grey-1132x212-300x56.png
Craig Fowler2019-12-28 18:36:142024-06-20 13:20:24Top 5 Reasons Thru-Hikers Quit https://oneofsevenproject.com/wp-content/uploads/2019/07/2019-2020-BIKEPACKING-CALENDAR-2.png
890
1335
Craig Fowler
http://oneofsevenproject.com/wp-content/uploads/2017/01/1of7-logo-lockup-grey-1132x212-300x56.png
Craig Fowler2019-07-02 12:41:322024-06-20 13:21:18Shakedown Hike
https://oneofsevenproject.com/wp-content/uploads/2019/07/2019-2020-BIKEPACKING-CALENDAR-2.png
890
1335
Craig Fowler
http://oneofsevenproject.com/wp-content/uploads/2017/01/1of7-logo-lockup-grey-1132x212-300x56.png
Craig Fowler2019-07-02 12:41:322024-06-20 13:21:18Shakedown Hike https://oneofsevenproject.com/wp-content/uploads/2019/02/Untitled-design-32-2.jpg
857
1493
Craig Fowler
http://oneofsevenproject.com/wp-content/uploads/2017/01/1of7-logo-lockup-grey-1132x212-300x56.png
Craig Fowler2019-02-10 16:18:032024-06-20 13:22:06Most Common Mistakes Thru-hikers Make
https://oneofsevenproject.com/wp-content/uploads/2019/02/Untitled-design-32-2.jpg
857
1493
Craig Fowler
http://oneofsevenproject.com/wp-content/uploads/2017/01/1of7-logo-lockup-grey-1132x212-300x56.png
Craig Fowler2019-02-10 16:18:032024-06-20 13:22:06Most Common Mistakes Thru-hikers Make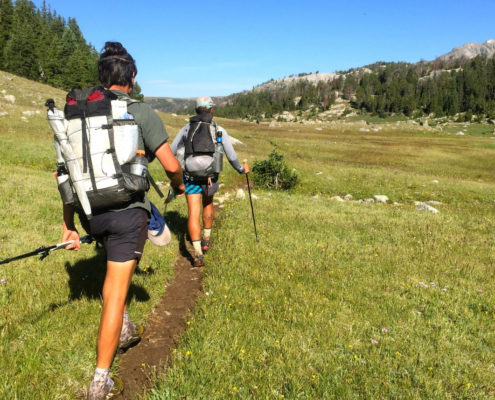 https://oneofsevenproject.com/wp-content/uploads/2019/01/Untitled-design-49.jpg
857
1493
Craig Fowler
http://oneofsevenproject.com/wp-content/uploads/2017/01/1of7-logo-lockup-grey-1132x212-300x56.png
Craig Fowler2019-01-04 19:25:492024-06-20 13:22:49Mental Side to Going Ultralight
https://oneofsevenproject.com/wp-content/uploads/2019/01/Untitled-design-49.jpg
857
1493
Craig Fowler
http://oneofsevenproject.com/wp-content/uploads/2017/01/1of7-logo-lockup-grey-1132x212-300x56.png
Craig Fowler2019-01-04 19:25:492024-06-20 13:22:49Mental Side to Going Ultralight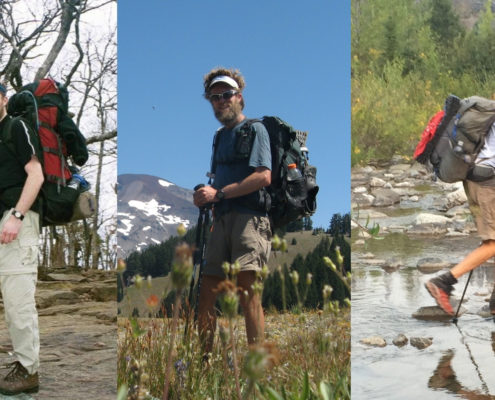 https://oneofsevenproject.com/wp-content/uploads/2012/06/Untitled-design-47.jpg
857
1493
Craig Fowler
http://oneofsevenproject.com/wp-content/uploads/2017/01/1of7-logo-lockup-grey-1132x212-300x56.png
Craig Fowler2012-06-07 18:34:512024-06-20 13:23:42Cutting Pack Weight
https://oneofsevenproject.com/wp-content/uploads/2012/06/Untitled-design-47.jpg
857
1493
Craig Fowler
http://oneofsevenproject.com/wp-content/uploads/2017/01/1of7-logo-lockup-grey-1132x212-300x56.png
Craig Fowler2012-06-07 18:34:512024-06-20 13:23:42Cutting Pack Weight





Simply clicking on the links below with our affiliates supports the Project.
Or checkout our Deals page to save big!