Ultimate Colorado Trail Transportation Guide: Airports, Shuttles, and More

The Colorado Trail Transportation Guide is your essential resource for planning travel to the trailheads, ensuring a smooth start to your Colorado Trail Race. The Colorado Trail is relatively easy to access at either end since the route begins and ends in towns. With this guide, arranging your travel is even simpler. However, as with any trip, there are some minor challenges. Compared to the Tour Divide or the Arizona Trail, transportation for the Colorado Trail Race is much more straightforward.

The primary hurdles include finding parking, limited airline options at the Durango airport, and arranging transportation from Durango back to Denver. Fortunately, none of these are difficult to solve. Keep reading, and this Colorado Trail Transportation Guide will provide you with all the details you need to arrive at the trailhead with ease.

Note: Most of the information in this guide has been sourced from third-party sites and may change without notice. Be sure to confirm details with your own research before you travel.

As an affiliate partner, One of Seven Project earns a commission for purchases made through any product, brand logo links, or banner ads on this page. Thanks for your support!

Save big and support The Project at the same time! Check out our Affiliate Deals page for exclusive offers on top brands. Every purchase fuels our mission to provide you with the best guides and resources for your adventures. Bookmark it now and shop smarter—deals update regularly!

TRAVEL TO AND FROM

Colorado Trail Transportation Guide

Getting to and from the Colorado Trail Race requires proper planning, especially for international riders. This section is for non-US riders traveling to the race, providing a simplified overview of the basic entry requirements for the U.S. and essential travel details.

For detailed information on passports, visas, VWP, ESTA, customs regulations, and border crossings, refer to our full travel guide:

  • Bikepacking in the USA & Canada – For non-US riders traveling to the U.S.

The rest of this guide covers transportation logistics, including shuttles, buses, airports, lodging, and more to help you plan your trip.

US Entry & Exit Requirement

Colorado Trail Transportation Guide

Entry Requirements for Non-US Citizens

  • Entering the US: A valid passport is required.
  • Visa Waiver Program (VWP) travelers: Must apply for an Electronic System for Travel Authorization (ESTA) before arrival.
  • Non-VWP travelers: Must apply for a B-1 (Business) or B-2 (Tourism) Visa in advance.

For a full breakdown of travel requirements, visas, and border policies, visit our detailed guide.

What the Full Guides Cover

Colorado Trail Transportation Guide

Items covered:

  • Visas: Visa Waiver Program (VWP), ESTA & B-1/B-2 Visas for US entry
  • eTA: Electronic Travel Authorization (eTA) for Canada
  • Passports: Requirements & customs regulations
  • Health: Precautions & vaccinations
  • Safety: Travel insurance & emergency planning
  • Logistics: Border crossing tips & potential travel delays
  • Bike: Shipping & flying with your bike
  • Travel Tips: gear/resupply, pre/post trip considerations, and more

Non-US Riders: Bikepacking in the USA & Canada

WHICH AIRPORT TO FLY INTO?

Why Airports Are Key to the Colorado Trail Divide Transportation Guide

For the Colorado Trail Race (CTR), the two best airports to fly into are Denver International Airport (DEN) or Durango-La Plata County Airport (DRO) depending on your start/finish. The beauty of the Colorado Trail Race is if you’re in a pinch you can ride your bike from either airport to the start of the race or from the finish.  Shuttles, train, and bus options can be found below.

Choosing these airports provides the most straightforward and convenient access to the Colorado Trail, minimizing travel time and hassle as you prepare to embark on your adventure.

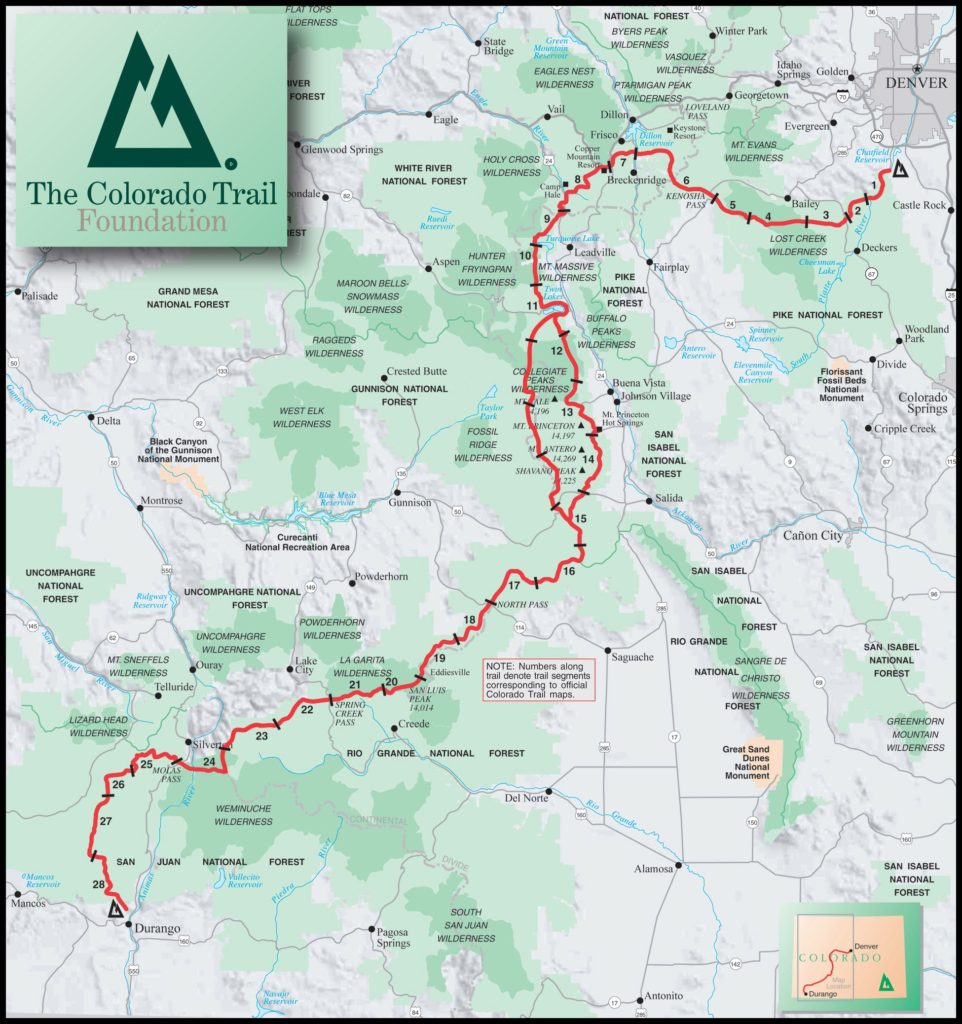
CTR map - Colorado trail - Colorado Trail Transportation Guide - Colorado Trail Guide

Denver International Airport

For a Southbound SOBO start or NOBO finish of the Colorado Trail Race (CTR), the best airport to fly into/out of is Denver International Airport (DEN). This airport is the closest major airport to the Waterton Canyon Trailhead, with a travel time of approximately one hour by car. Denver International Airport offers a wide range of flights from numerous airlines, making it a convenient option for travelers.

You have a few options to get from DIA to Waterton Canyon. They include having a friend drive you, ride your bike, taxi, Uber, train, bus/shuttle, or any combination of any of these. You can find details on all these in the Transportation section below.

The full list of airlines that service DIA includes:

Durango

For a Northbound NOBO start or SOBO finish, the best airport to fly into/out of is Durango-La Plata County Airport (DRO). This airport is the nearest to the Junction Creek Trailhead, the southern terminus of the Colorado Trail, with a travel time of approximately 35 minutes by car or 1 hour and 25 minutes by bike to downtown Durango. While Durango-La Plata County Airport has fewer airline options compared to Denver, it is the most convenient airport for accessing the trailhead. The short travel time from the airport to the trailhead makes it an ideal choice for starting your NOBO journey.

They do offer rental cars if you’re looking to drive back to Denver or else where after you finish (See the transportation section for more).

Getting to and from the airport is pretty straight forward.  Google Maps directions are linked below for convenience in the Transportation Options section.

COLORADO TRAIL RACE PLANNING AIDS

Welcome to The Project’s Colorado Trail Race Planning Aids, designed to bridge the gap left by the lack of high-quality planning tools within bikepacking. As a Triple Crown thru-hiker, I’m accustomed to comprehensive planning resources, and I noticed that bikepacking needed similar quality tools. That’s why I developed these resources to make your Colorado Trail adventure as smooth and well-prepared as possible.
Our planning aids include four distinct styles to help you plan your ride:

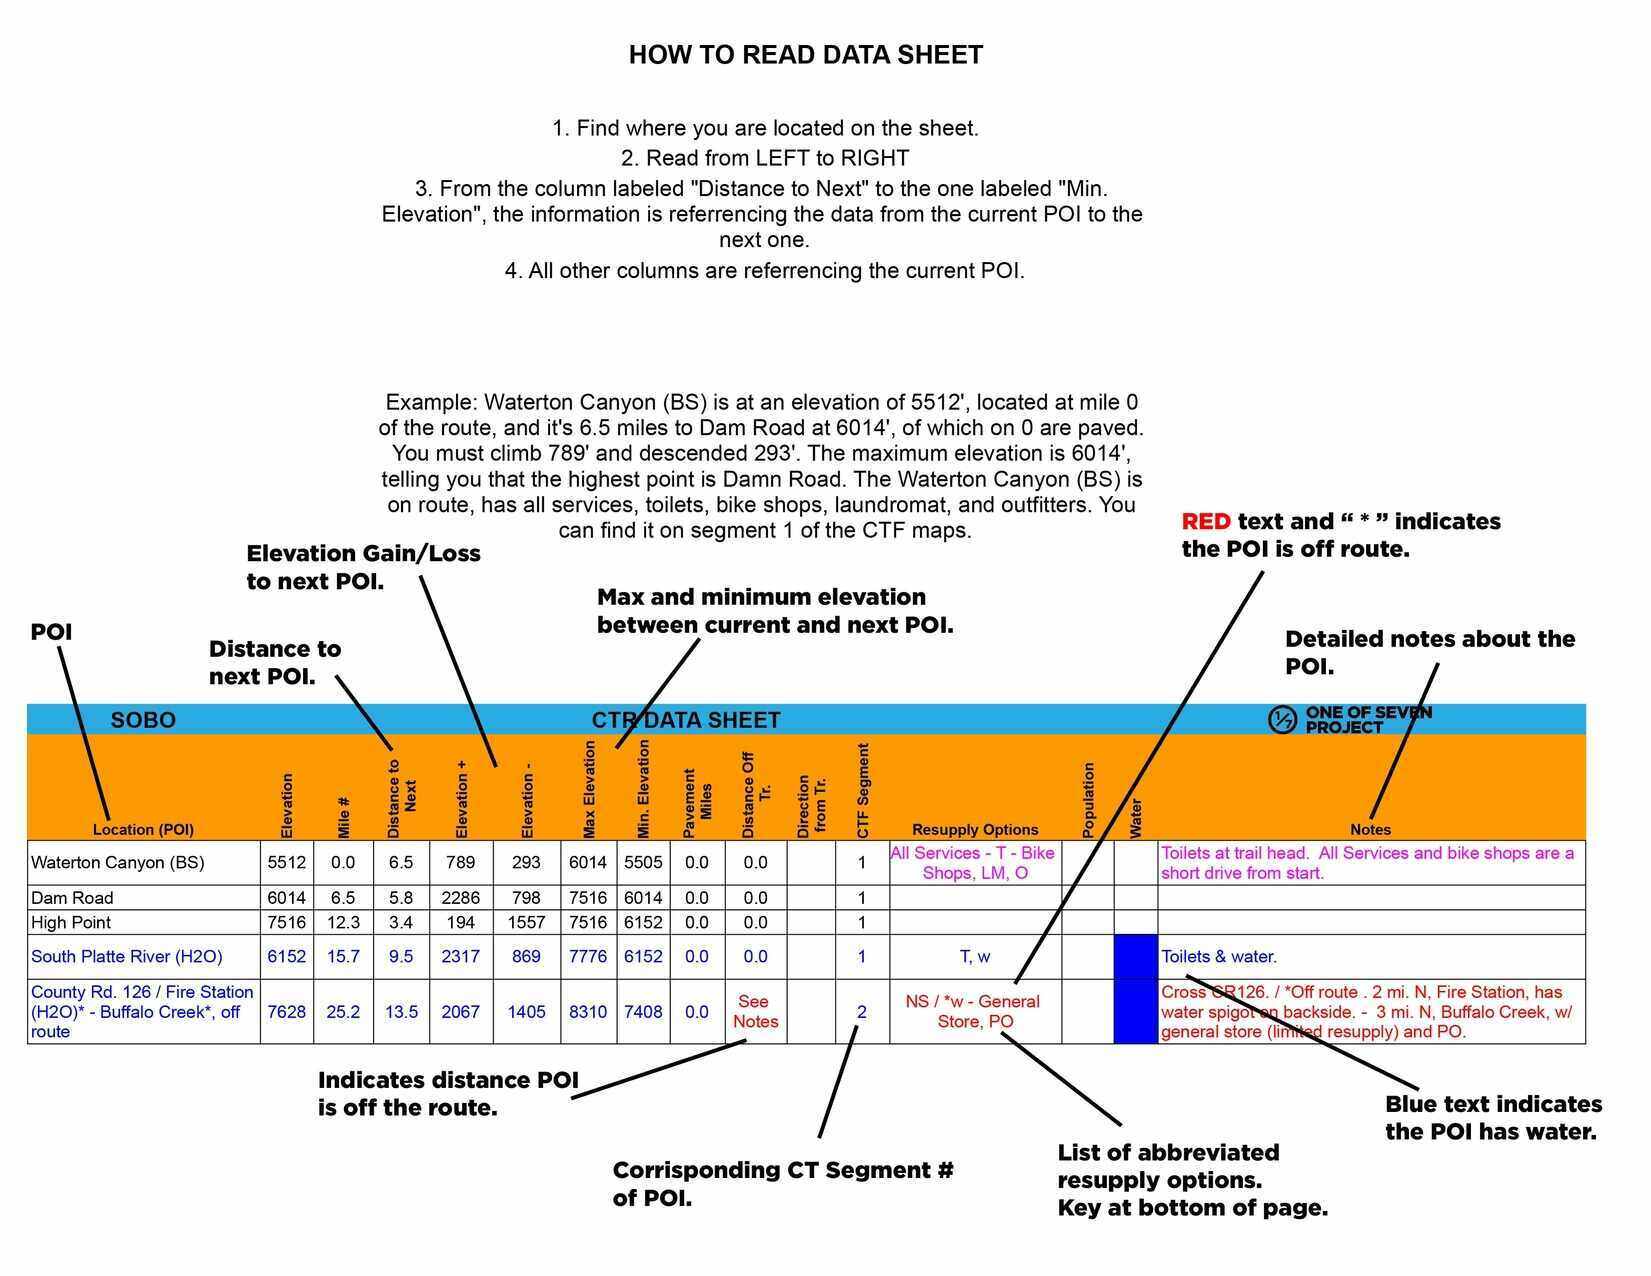
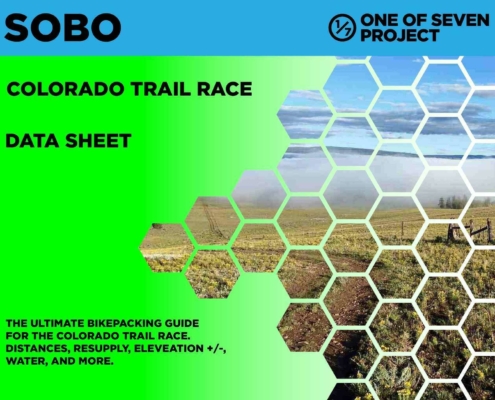
  • The Data Sheet: Offers the most detailed information, including distance, elevation +/-, resupply options, notes and more for key POI.
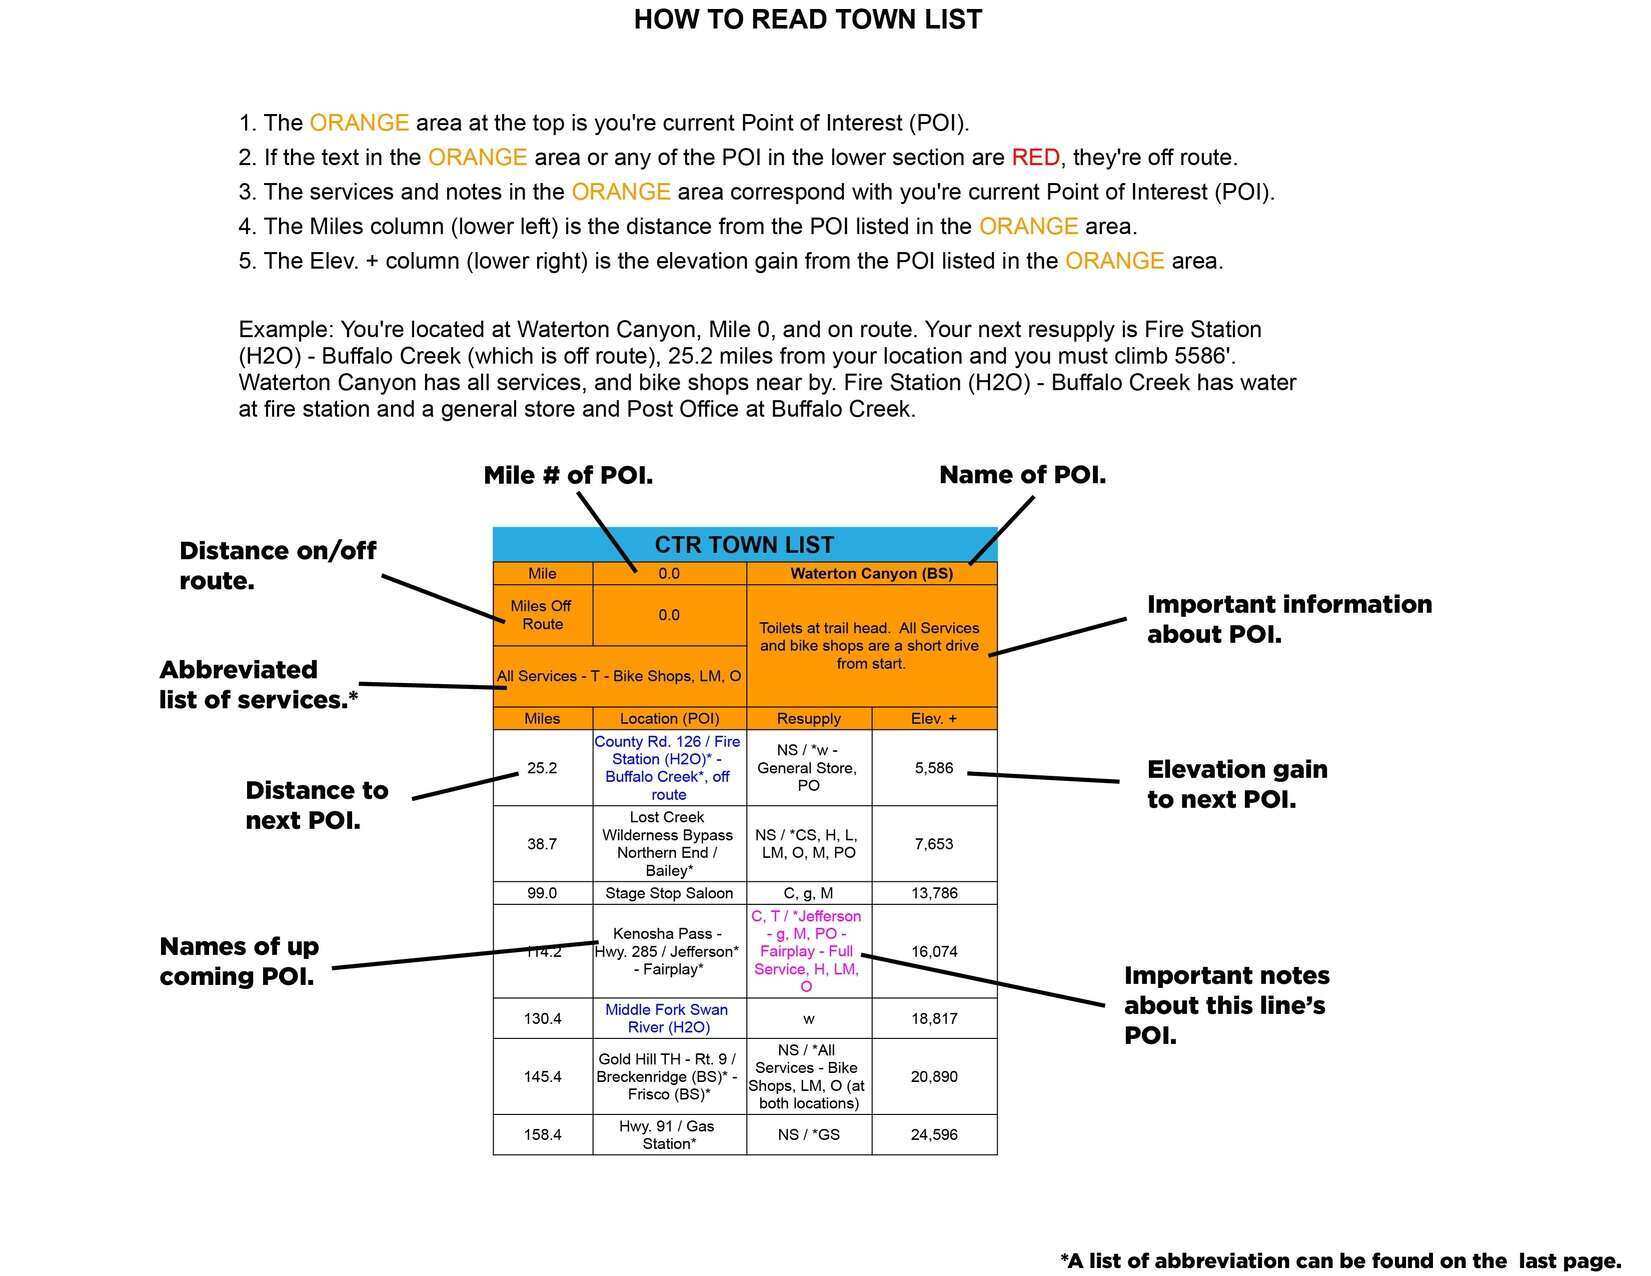
  • Town List: provides cumulative distances between POI, and does the math so you don’t have to.
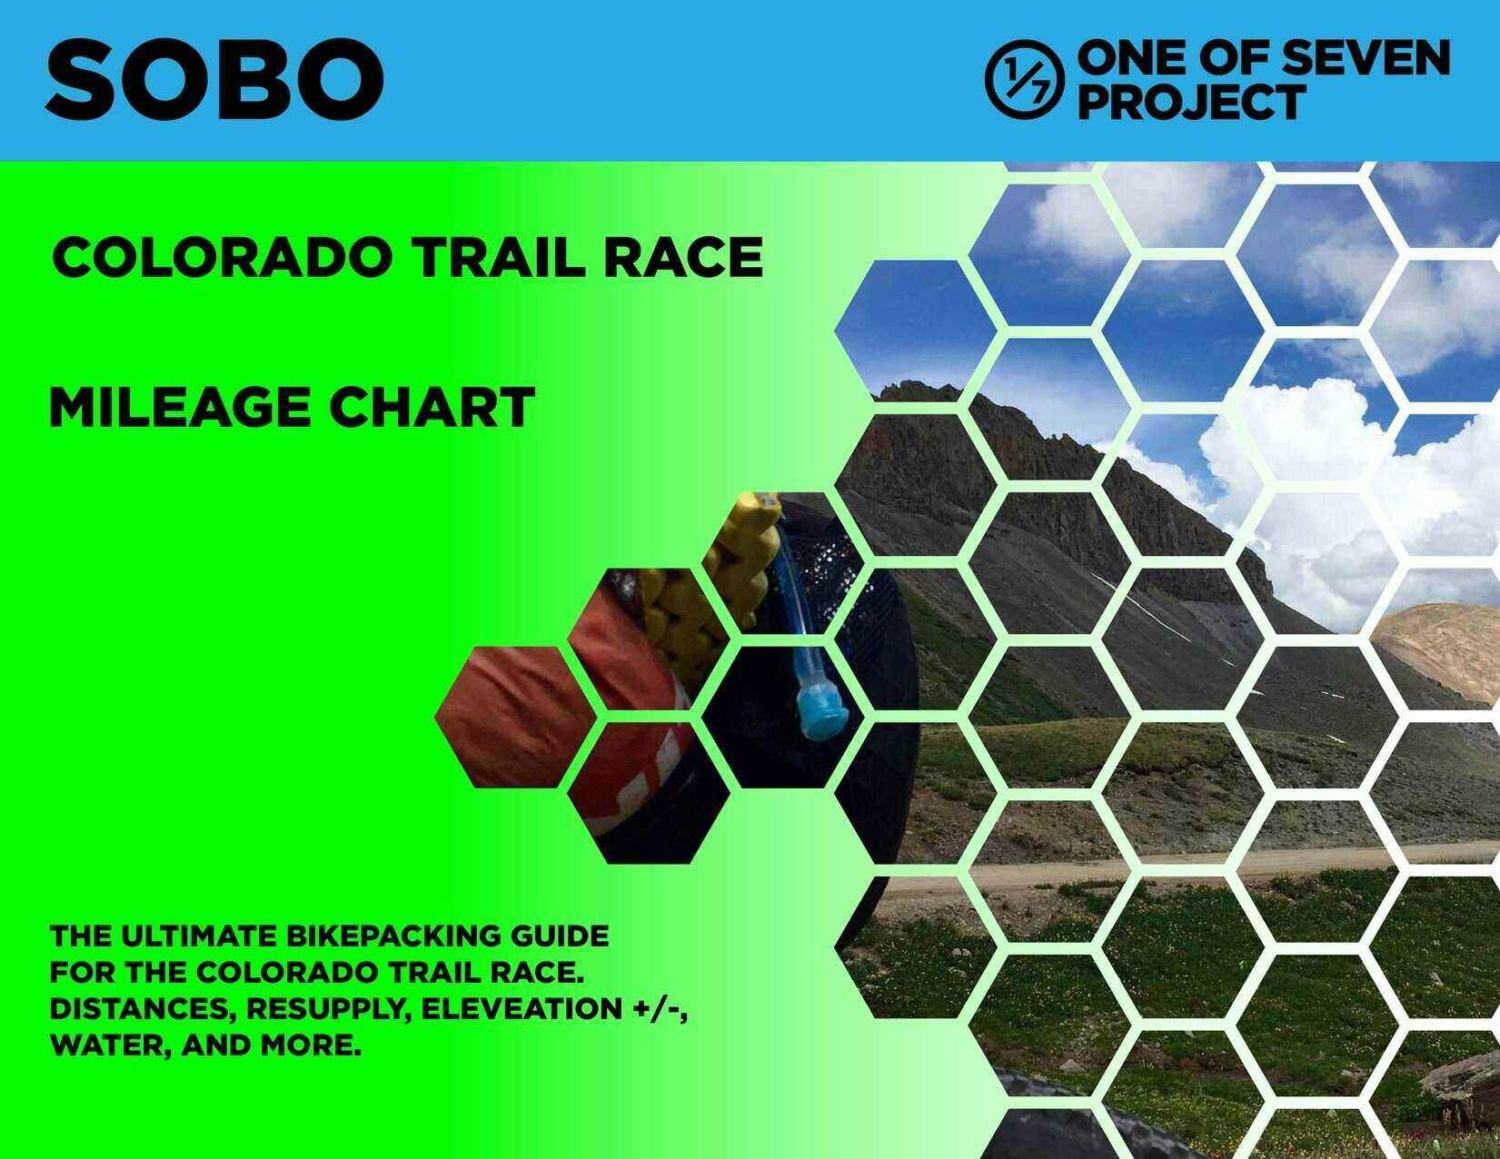
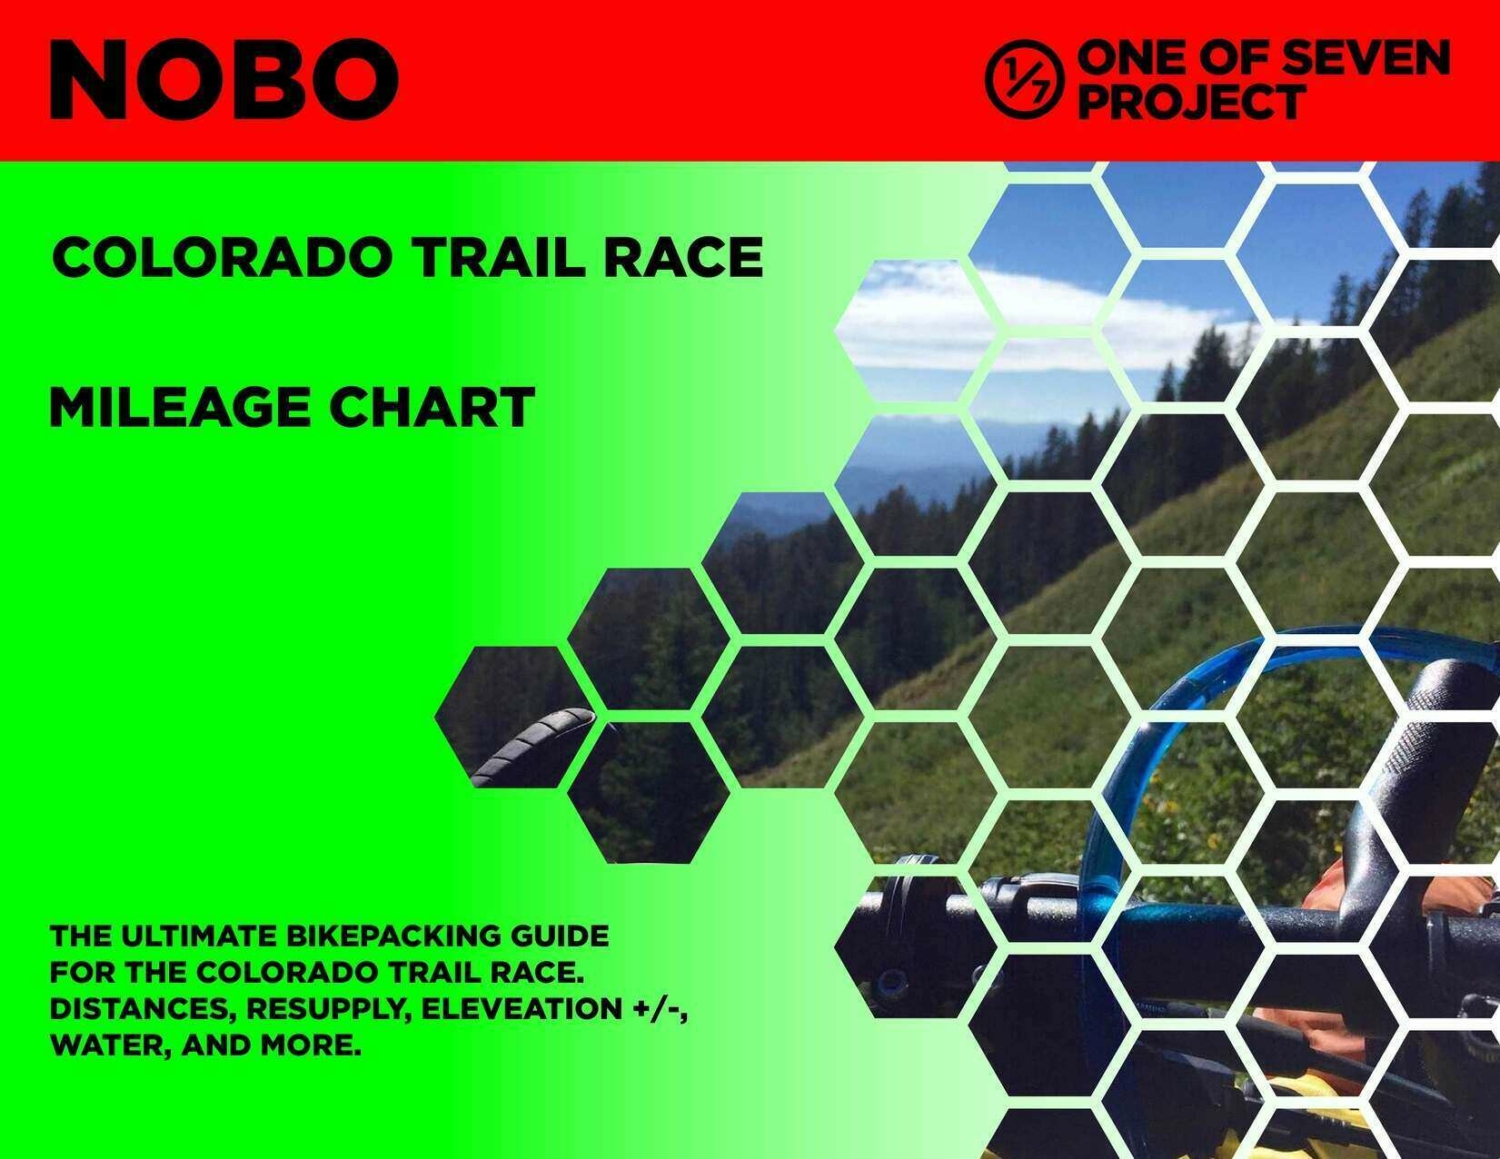
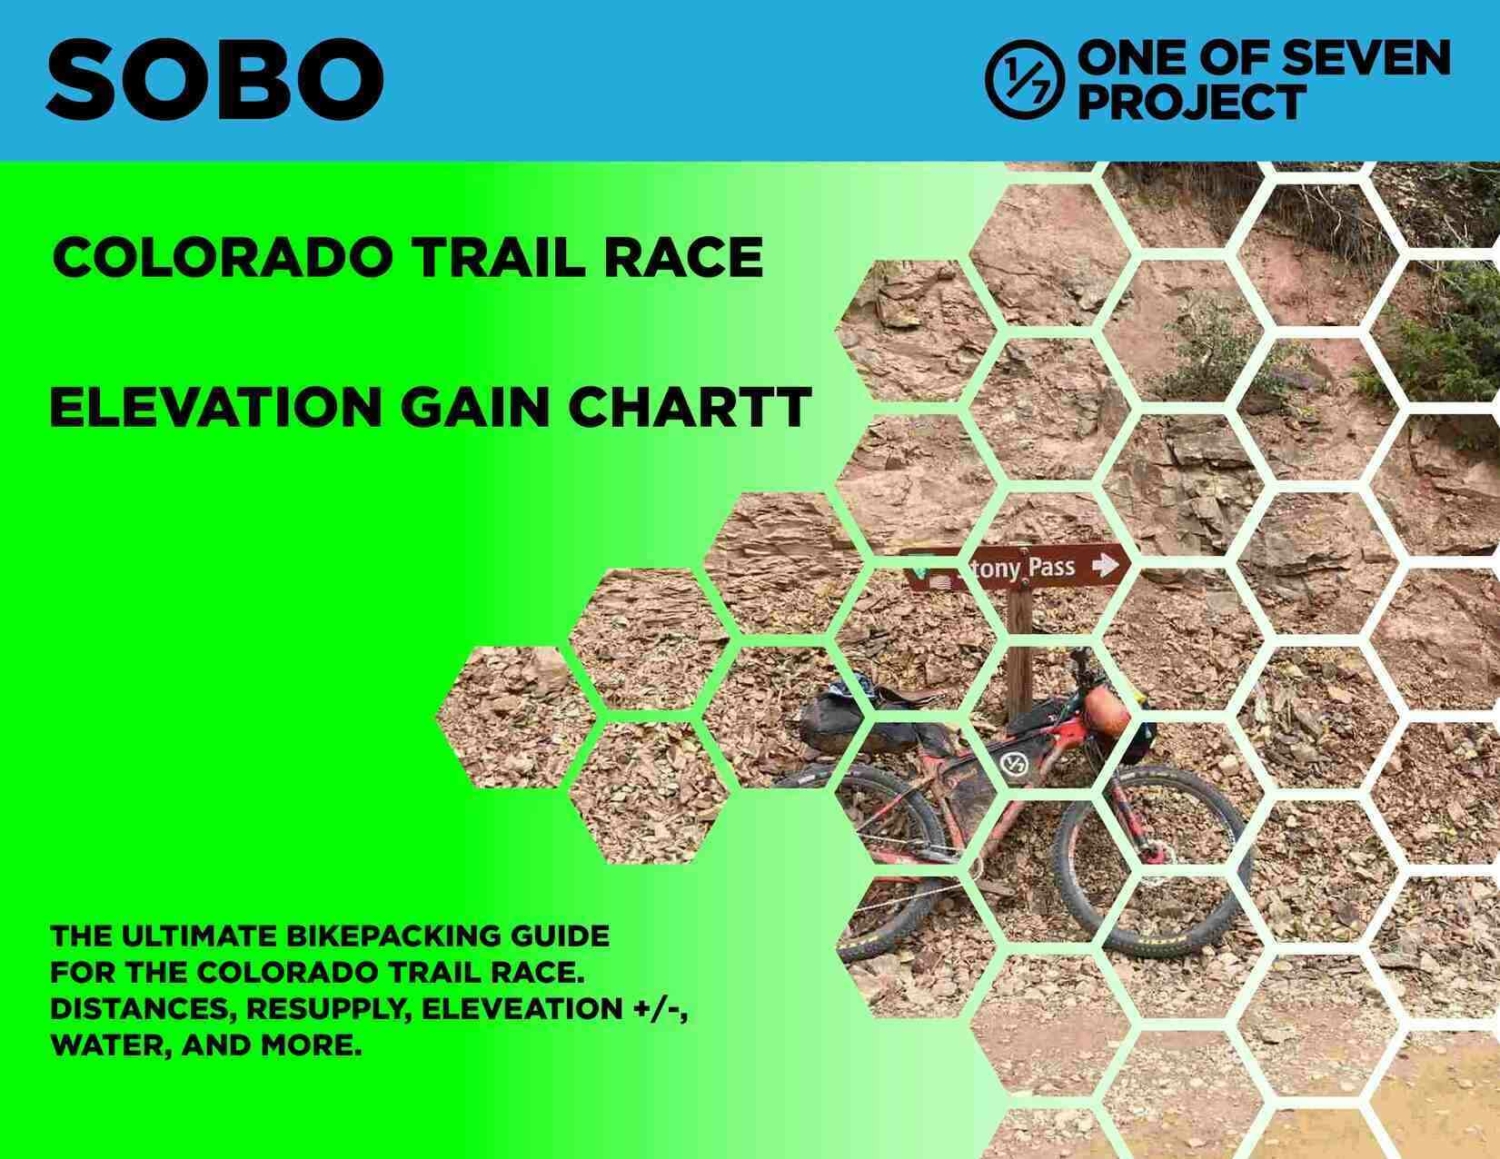
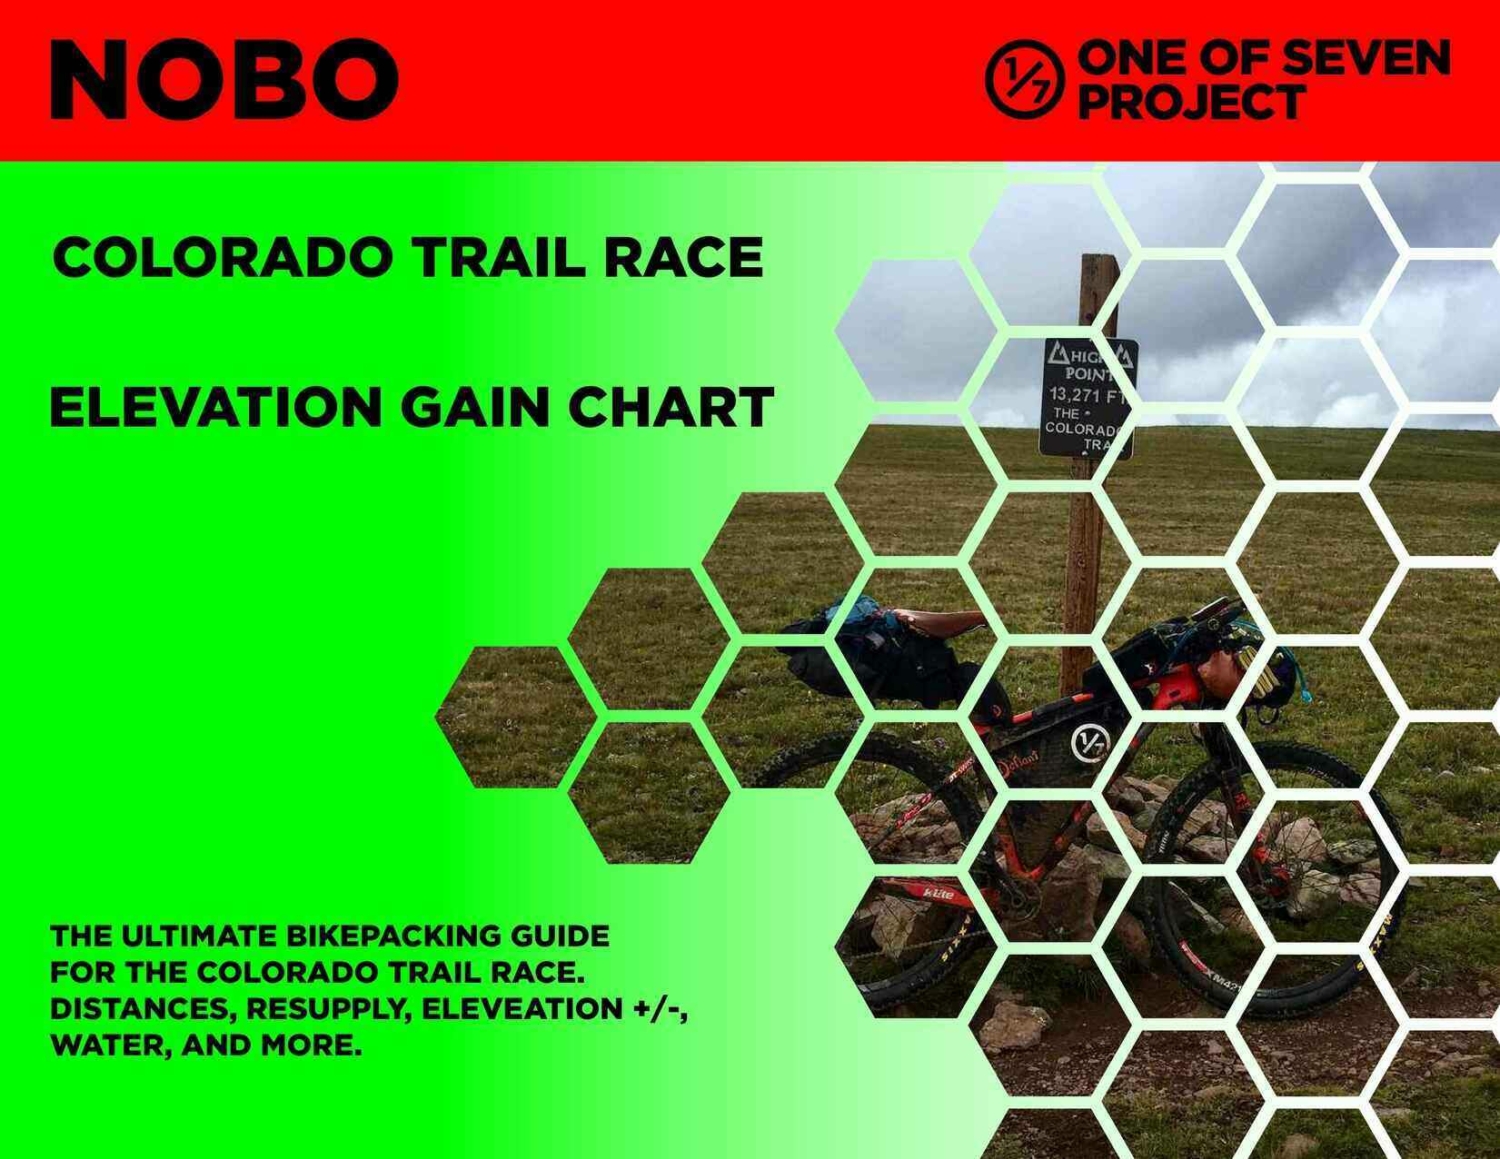
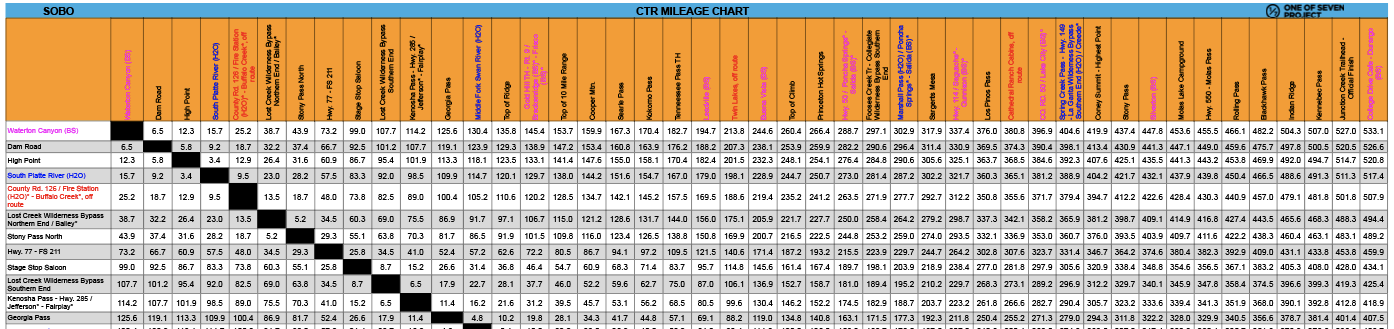
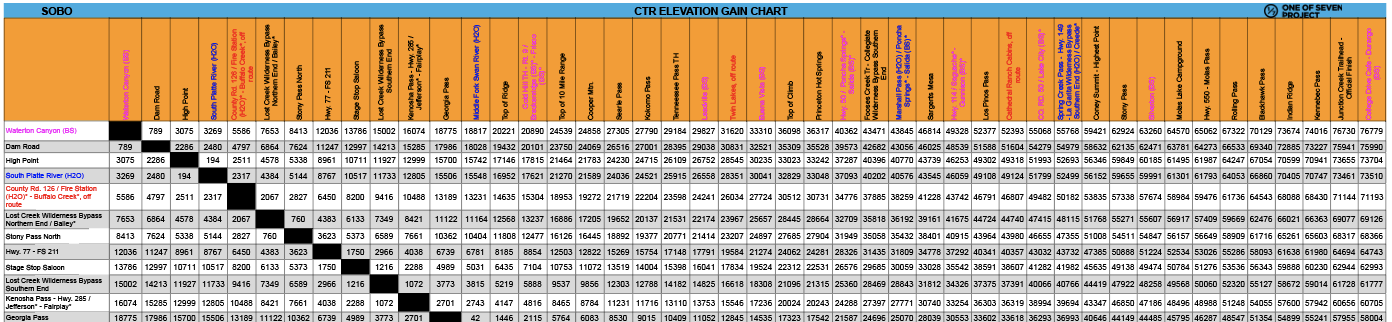
  • Mileage Chart and Elevation Gain Chart: are simple graphs showing cumulative mileage and elevation gain between POI.

Additional Resources

  • Why Use Our Planning Aids: Check out the “Why Choose Our Planning Aids” tab below for an in-depth explanation of their value, including how they simplify preparation, save time, and provide clarity bikepacking adventures and racing.
  • Tour Divide Maps: Explore our companion Ride with GPS maps tab below, to visualize the route, identify POIs, and download files for offline navigation.

Explore our offerings to find the perfect combination for your needs and get ready to conquer the Tour Divide! Don’t forget to checkout our online Colorado Trail Race Resources as well.

IMPORTANT NOTES:

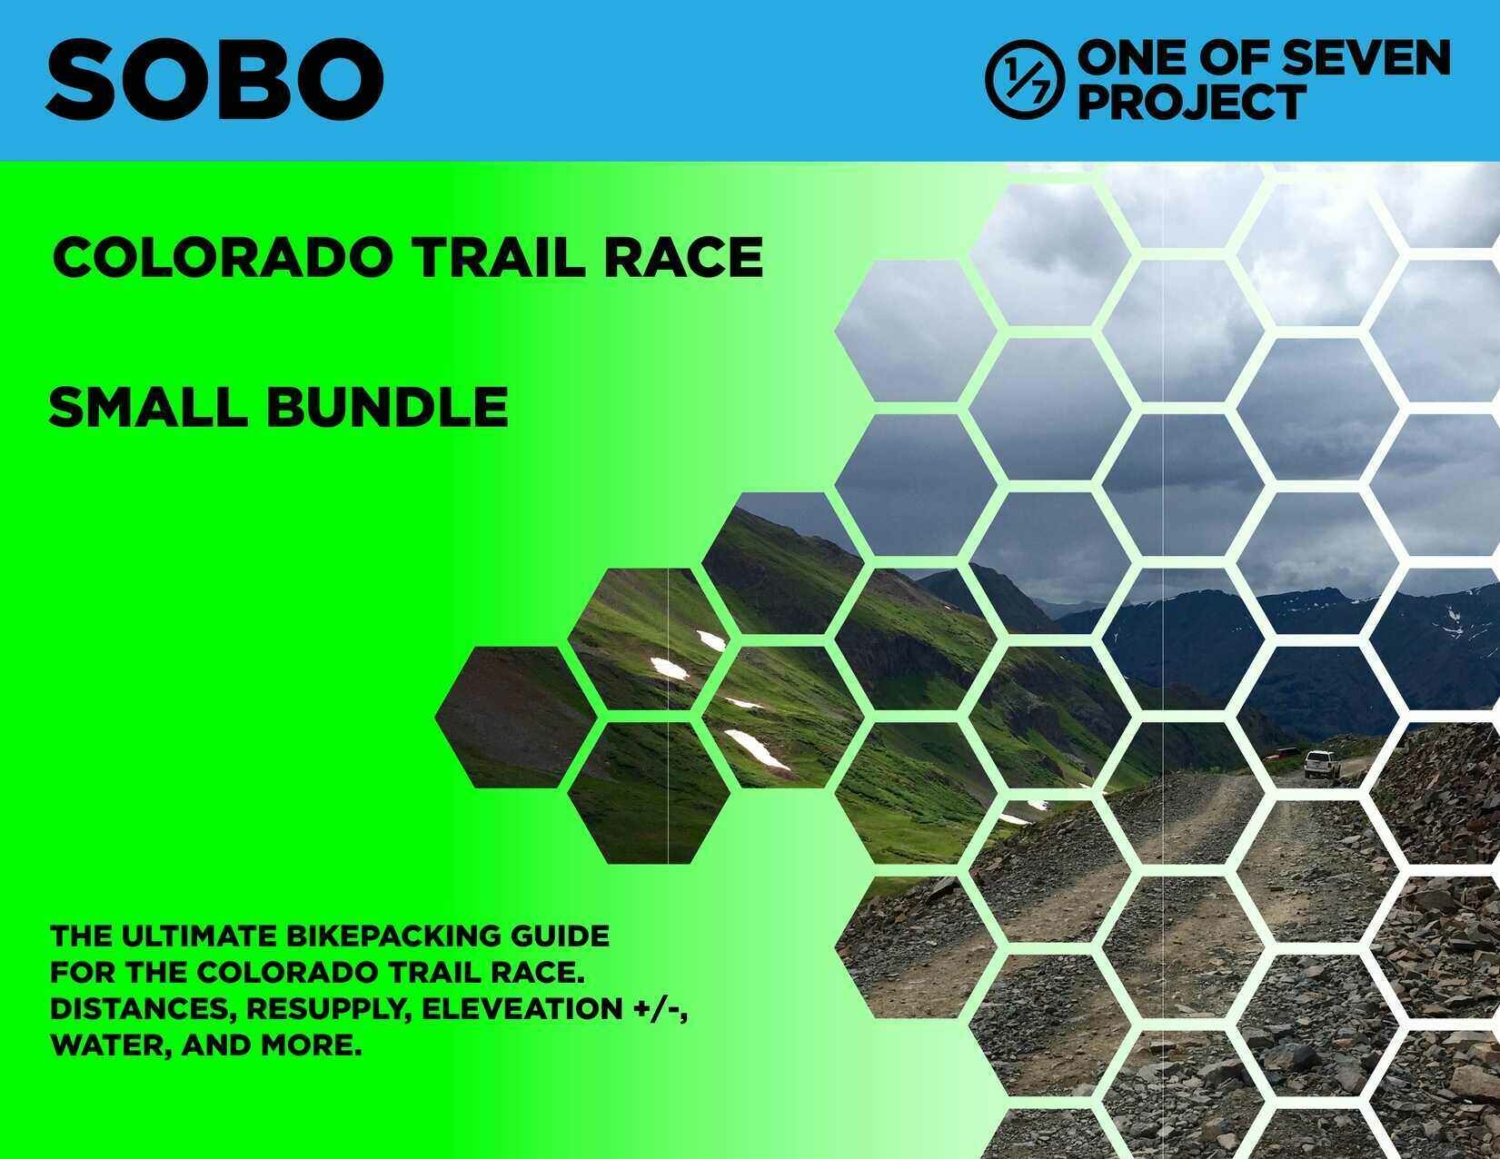
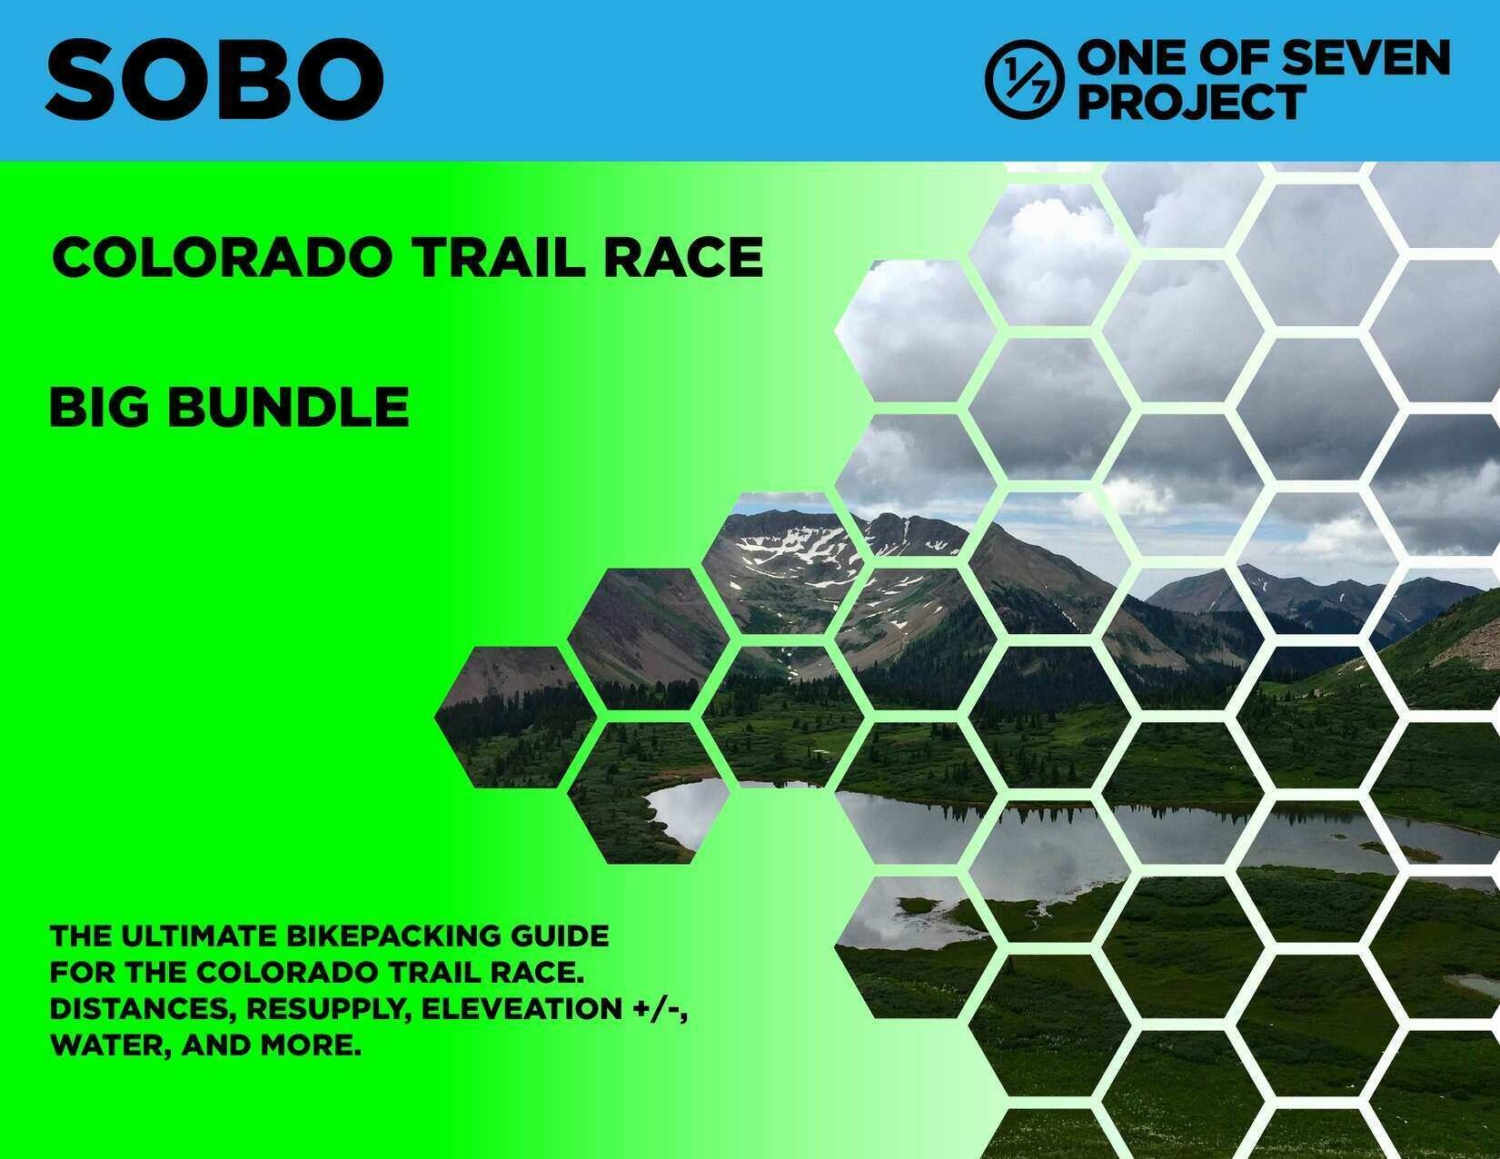
  • The race runs southbound/westbound on years ending in an even number and those planning aids have a BLUE band.
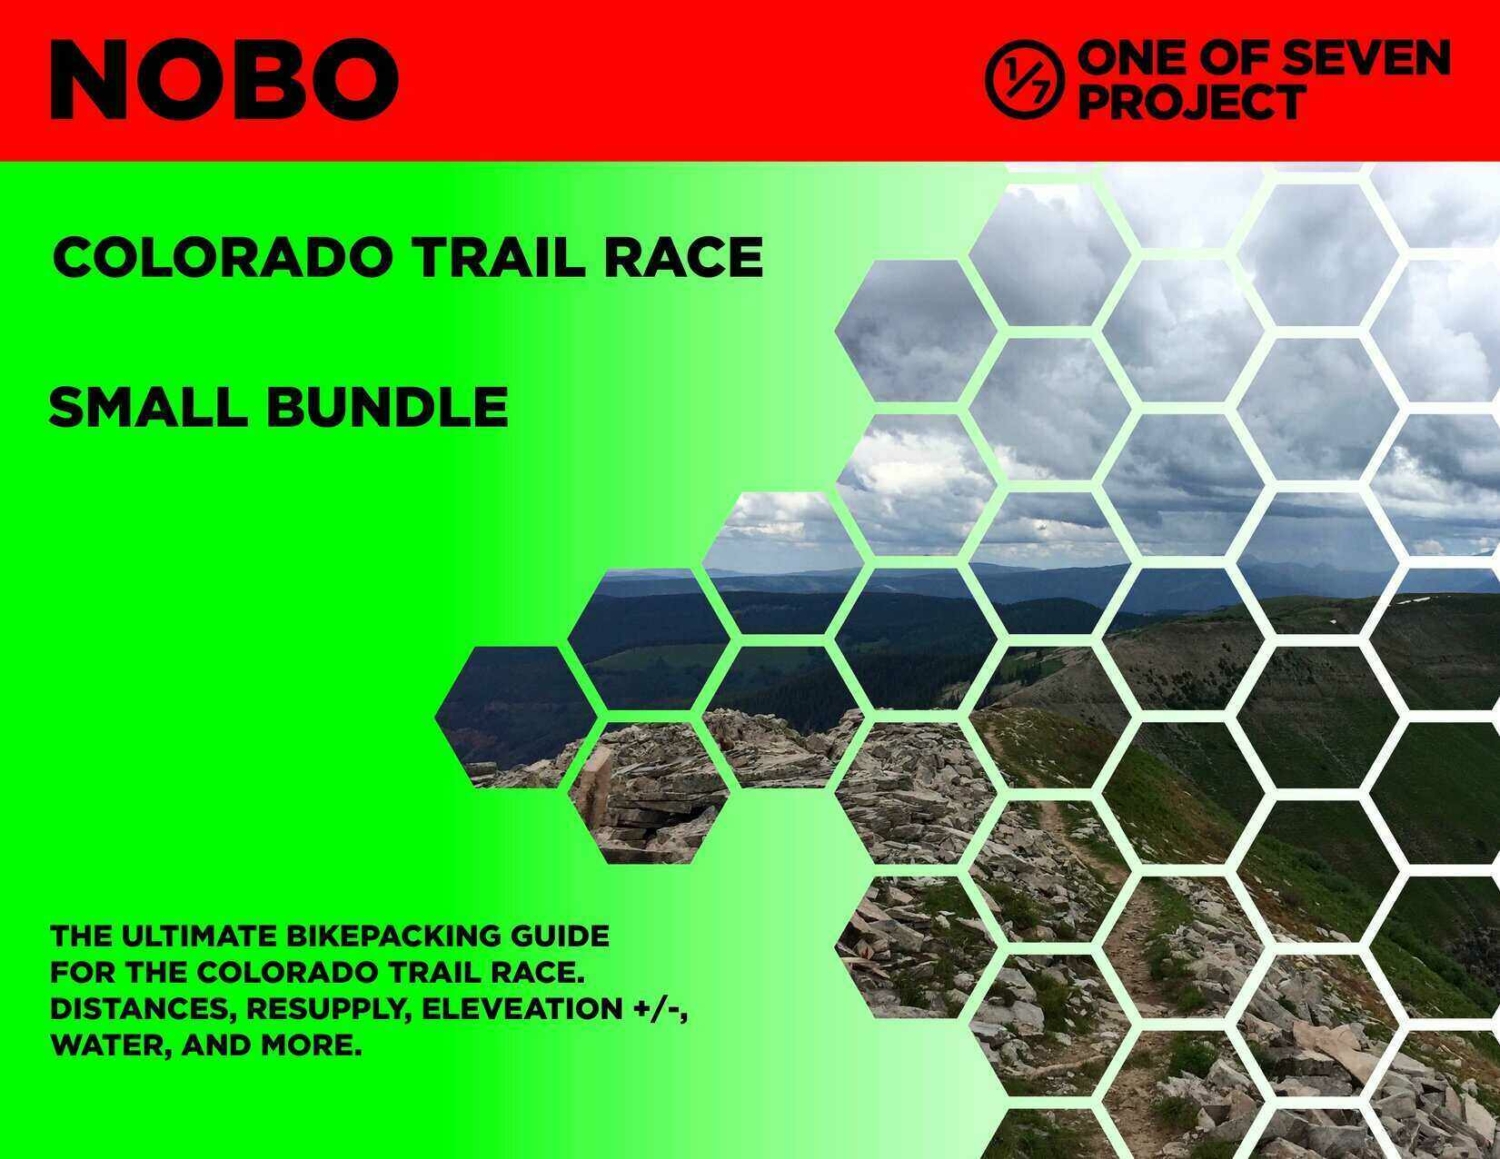
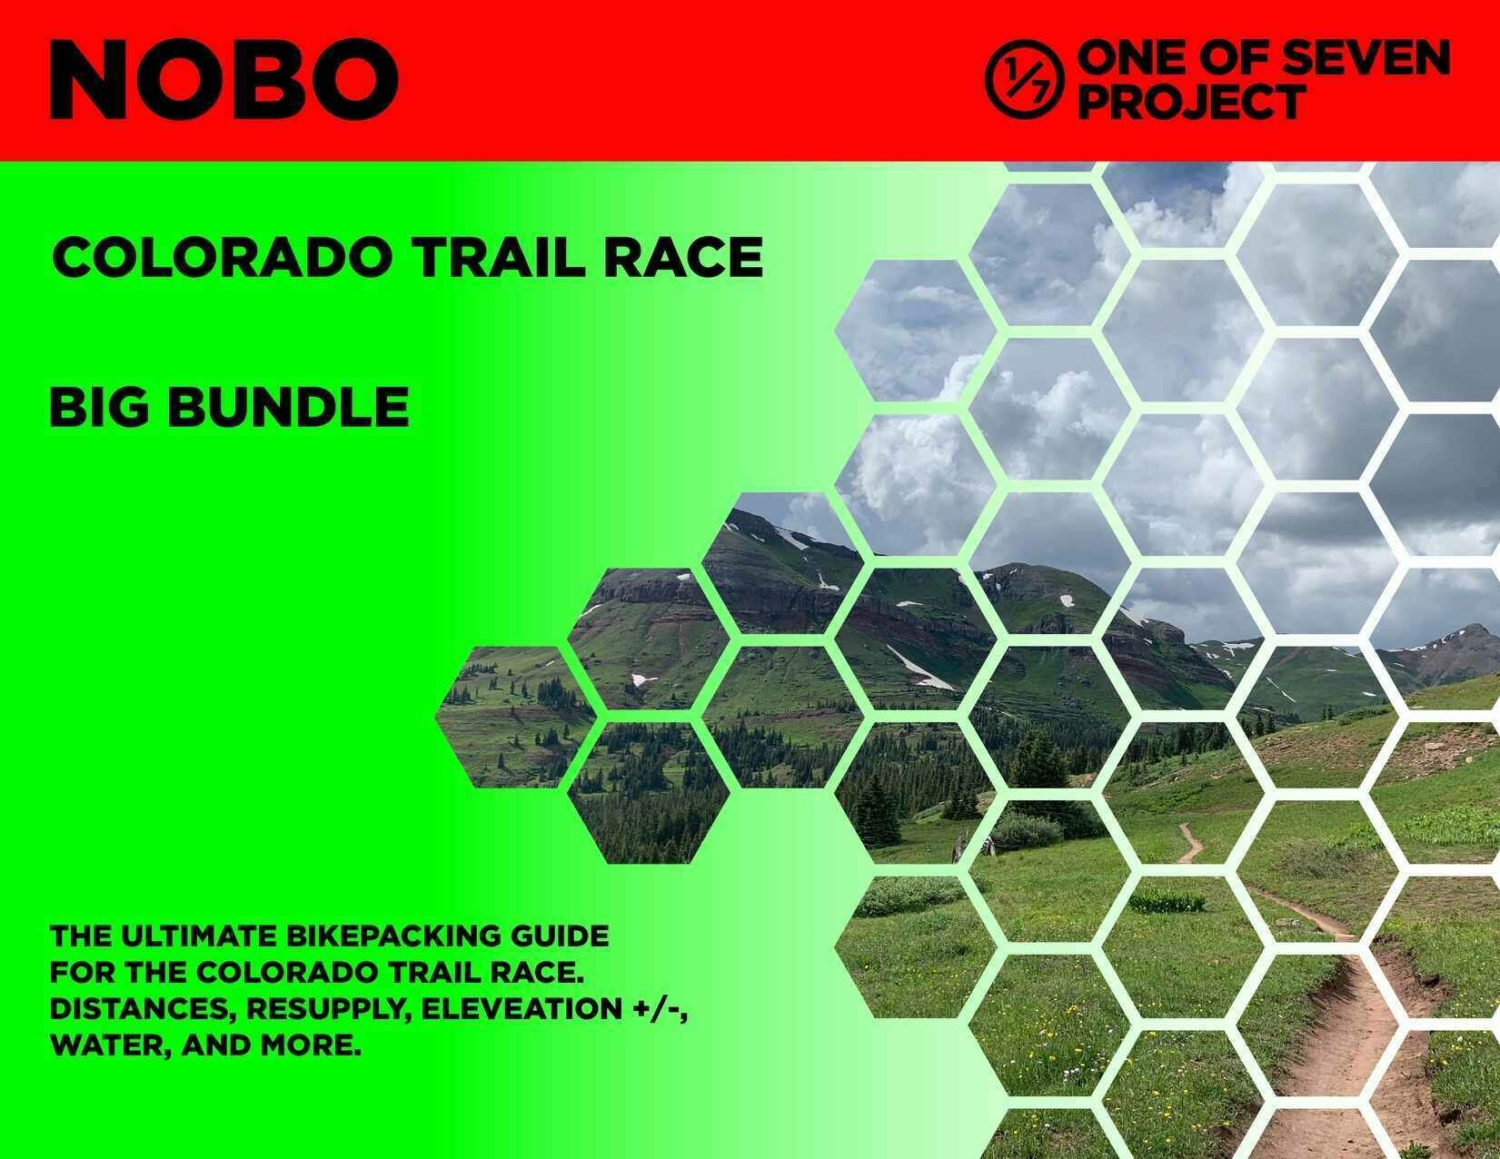
  • The race runs northbound/eastbound on years ending in an odd number and those planning aids have an RED band.
  • All planning aids are based off the 10k GPX file.

BUNDLES

Small Bundles:

Big Bundles:

The Small Bundle includes our two most popular planning aids, giving bikepackers essential route data in a streamlined format. With key logistics, cumulative mileage, and resupply details at your fingertips, this bundle simplifies planning and keeps you focused on the ride.

  • Data Sheet – The most comprehensive planning tool, packed with mileage, elevation gain/loss, resupply points, and key logistics.
  • Town List – Cumulative mileage and elevation gain between POIs, helping track progress and plan stops efficiently.

The Big Bundle provides the most complete set of planning tools, ensuring you have everything needed to plan effectively and ride with confidence.

  • Data Sheet – Detailed mileage, elevation, and resupply information for comprehensive planning.
  • Town List – Cumulative distance and elevation tracking for easy route management.
  • Mileage Chart – Quick-reference breakdown of distances between key points.
  • Elevation Gain Chart – Clear elevation changes to help anticipate climbs and descents.

Available in both SOBO and NOBO versions and ONLY in US Standard units.

Small Bundle – $40.00  *You save $10 when you bundle!

Big Bundle – $60.00  *You save $20 when you bundle!

DATA SHEETS / TOWN LISTS

Data Sheets:

Town Lists:

The Data Sheet is our most comprehensive planning tool, packed with detailed route data, including mileage, elevation gain/loss, resupply points, key logistics, and more to support every aspect of your ride. Designed to be the ultimate resupply tool, it ensures bikepackers have the critical information needed to plan their route efficiently and make informed decisions on the go.

  • Key POI.
  • Elevation / Pop of POI.
  • Mileage numbers.
  • Distance to next.
  • Elevation +/-.
  • Max & Min. elevation between POI.
  • Pavement sections.
  • Key water sources.
  • Shows bike shops.
  • Resupply options.
  • Important notes.
  • Elevation profile.
  • Finish Target Times.

The Town List provides cumulative distances and elevation gain between multiple POIs, helping bikepackers track progress and plan resupply stops with ease. By doing the math for you, it saves time and lets you focus on the ride.

  • Key POI.
  • Mileage.
  • Distance on/off trail.
  • Important notes about POI.
  • Cumulative distances to up coming POI.
  • Elevation Gain to reach up coming POI.
  • Key water sources.
  • Shows bike shops.
  • Finish Target Times added.

Available in both SOBO and NOBO versions and ONLY in US Standard units.

Data Sheet – $25

Town List (ONLY available as part of the Small or Big Bundle.)

MILEAGE / ELEVATION GAIN CHARTS

Mileage Charts:

Elevation Gain Charts:

The Mileage Chart provides a quick-reference breakdown of distances between key points along the route, helping bikepackers plan resupply stops and daily targets efficiently.

  • Shows bike shops.
  • Works for both directions.
  • Key water sources.

The Elevation Gain Chart delivers a clear view of total elevation changes, allowing riders to anticipate climbs, descents, and overall route difficulty at a glance.

    • Shows bike shops.
    • Works for both directions.
    • Key water sources.

Available in both SOBO and NOBO versions and ONLY in US Standard units.

Mileage and Elevation Gain Carts are our available as part of the Big Bundle.

Big Bundle – $60.00  *You save $20 when you bundle!

What Are Planning Aids?

Colorado Trail Planning Aids

Our Colorado Trail Planning Aids are comprehensive resources designed to assist bikepackers in effectively planning and navigating their adventures. Whether you’re tackling challenging bikepacking routes, or exploring scenic trails, these aids deliver critical route data and information to simplify your preparation and keep you focused on your journey.

From mileage data to key resupply points and water sources, our Colorado Trail Planning Aids provide the essential details to help you stay on track and fully experience the trail. We aim to support your success, no matter how you choose to explore the outdoors.

Why Use Our Planning Aids?

Colorado Trail Planning Aids

Our Colorado Trail Planning Aids for bikepacking are trusted by experienced bikepackers, and endurance riders, because they simplify preparation and provide clarity where it matters most. With our Colorado Trail Planning Aids, you can:

  • Plan with Confidence: Know exactly what’s ahead, from water stops to elevation changes.
  • Save Time: Get all the key route details in one organized place—no more piecing together scattered info.
  • Stay Focused on the Journey: With your prep done, you’ll spend less time worrying and more time enjoying the experience.

What You Get

Colorado Trail Planning Aids

When you choose our Colorado Trail Planning Aids, you gain access to reliable and organized route-specific data, including:

  • Point-of-Interest (POI) Data:
    • Mileage markers, cumulative distances, and key stops along the route.
    • Locations for resupply points, water sources, bike shops, and other critical services.
  • Route Metrics:
    • Elevation gain/loss, max/min elevations, and pavement mileage.
    • Detailed charts to help you anticipate climbs, descents, and varying terrain.
  • Practical Notes for Riders:
    • Guidance for navigating remote areas, staying prepared for dry stretches, and hitting resupply points.
    • Finish targets and other planning details to set achievable goals for each ride.
  • Convenient Formats:
    • Delivered as easy-to-use PDF files, available in both SOBO (Southbound) and NOBO (Northbound) formats where applicable.
  • Free Updates Throughout the Year:
    • Planning Aids include the most current data available at the time of purchase and are valid through December 31 of that year. If new information becomes available, you’ll receive free updates via email to ensure you’re always using the latest data.

Colorado Trail Race Maps

Ride with GPS Maps

Plan Smarter with our Colorado Trail Race Maps and Planning Aids

The Colorado Trail Race is one of the most challenging bikepacking routes in the world, stretching thousands of miles through remote terrain and breathtaking landscapes. Proper preparation is essential for success, and these interactive maps, based on the official race route, are designed to complement the One of Seven Project’s Colorado Trail race Planning Aids, giving you a powerful combination of tools to streamline your planning process.

  • Route visualization: Use the maps to explore the route, identify Points of Interest (POIs), and understand the trail’s layout. Icons represent water sources, resupply points, towns, and bike shops, offering a high-level view of critical stops along the way.
  • Downloadable backup: By downloading these maps from Ride with GPS, you’ll have a reliable backup GPX file to use if your GPS device runs out of battery or breaks.
  • Detailed insights: Dive deeper into the Planning Aids for essential data like mileage, elevation gain/loss, resupply strategies, and water details—organized to help you tackle the unique challenges of the Colorado Trail with confidence.

Together, these resources provide everything you need to map out a realistic strategy for tackling the Tour Divide, whether you’re racing or touring. Start planning your adventure today!

TRANSPORTATION OPTIONS

Colorado Trail Transportation Guide: Key Data for All Your Transportation Options

Whether you’re heading northbound (NOBO) or southbound (SOBO), the Colorado Trail offers many options to get to the start or back from the finish. Both the starting and finishing points are conveniently located in towns, making access to public and private transportation straightforward. Your options include driving, riding your bike, taking a train, bus, or shuttle, or renting a car. Additionally, ride-sharing options can often be found through Facebook or Craigslist, providing even more flexibility for your journey.

Driving

DENVER –  It’s a 50 minute drive and 47.9 miles to Waterton Canyon from DIA.  Driving directions (Be aware some routes have tolls).

DURANGO –  It’s a 25 minute drive and 14.7 miles to Durango from the DRO airport.  Driving directions.

Riding

DENVER – The ride from DIA to Waterton is 50 miles and takes abour 4.5 hours. Riding directions.

DURANGO –  The ride from DRO to Durango is 14.4 miles and takes 1 hour and 25 minutes. Riding directions.

Train

DENVER – Taking the train involves some logistics but think about it as “urban logistics” practice for the race itself.  Here’s what you do:
  1. Find your way to Level 1 by following signs for the “Transit Center”.
  2. Take the RTD train to Denver’s Union Station.  The cost is roughly $9.00, one way.
  3. Once to Union Station make your way 1 block to the Light Rail Line and board the C line to Mineral Station, roughly $4.50 (multi regional pass).  From here you have two options.
  4. Option #1 – Ride your bike via the paved path at the end of the station, which is near the 7 Eleven store across the street to Chatfield State Park, and then finally a dirt road to the Waterton Canyon TH. This map will help you navigate the park.
  5. Option #2 – Call a taxi or request an UBER (roughly $11-16)

DURANGO –  N/A

Bus

Shuttle

Taxi

DENVER –

Transportation Providers Information
Public Bus Website
Shared Ride Service Website
Taxi Website
Mobil App Services Website
Charter Buses Website

DURANGO – 

Transportation Providers Phone
Animas Transportation 970-259-1315
Buck Horn Limousine 970-769-0933
Celerity Limo 970-640-7545
Durango Cab 970-259-4818
High Up Tours & Transportation 970-238-0136
Mountain Limo 888-546-6894
Wilderness Journeys 970-731-4081
Durango City Transit Website

Rental Cars

DENVER –

Company Phone Number/Website
Alamo Rent A Car (877) 222-9075 | website
Avis Rent A Car (303) 342-5500 | website
Budget Rent A Car (800) 527-0700 | website
Dollar Rent A Car (303) 317-0598 | website
Enterprise Rent A Car (800) 261-7331 | website
Fox Rent A Car (800) 225-4369 | website
Hertz Rent A Car (800) 654-3131 | website
National Rent A Car (877) 222-9058 | website
Payless Rent A Car (800) PAY-LESS | website
Sixt Rent A Car (888) 749-8227 | website
Thrifty Car Rental (800) 367-2277 | website
York Car Rental (720) 588-9968website

DURANGO –

Rental Car Company Reservations Phone Number Local Branch Phone Number
Alamo (800) 462-5266 (970) 247-3944
Avis (800) 331-1212 (970) 375-7831
Enterprise (800) 261-7331 (970) 385-8648
Hertz (800) 654-3131 (970) 247-5288

Getting From Denver to Durango or Durango to Denver

Colorado Trail Transportation Guide: Finding Your Way To and From the Start/Finish

Whether you’re heading northbound (NOBO) or southbound (SOBO), the Colorado Trail offers various transportation options to get to the start or back from the finish. Both the starting and finishing points are conveniently located in towns, making access to public and private transportation straightforward. Options include driving, riding your bike, taking a train, bus, or shuttle, or renting a car. Additionally, ride-sharing options can often be found through Facebook or Craigslist, providing even more flexibility for your journey.

Denver to Durango

– Bus

You can take the Ride Bustang to Grand Junction (GJ).  The bus is the West Line and leaves Denver Union Station Gate B19 [DUS] at 7 am and arrives at the Grand Junction Airport 2828 Walker Field Dr. at 12:50pm.  A ticket will cost you $43.00. From the Ride Bustang website about bikes:

You may bring up to 3 pieces of luggage to stow underneath the bus. Bicycles, skis, or snowboards each count as one piece of luggage.

Once to GJ you take Bustang to Durango.  The bus leaves GJ  at 1:30 pm and arrives in Durango at the Transit Center 250 W. 8th St. at 7:10 pm. A ticket will cost you $43.00. From the Bustang website about bikes:

Customers may transport non-motorized and motorized bicycles, e-bikes and stand-up scooters on Bustang vehicles operated by ACE Express Coaches at any time without a permit subject to the following requirements:

  • May not exceed 80 inches in length or 40 inches in height
  • Not excessively muddy, dirty or greasy”

– Train

You can take Amtrak from Denver (Union Station) to Grand Junction (339 South 1st Street). A ticket will cost you about $125 not including your bike which should be another $20. From the Amtrak website:

“Each passenger can check up to 4 bags – 2 free of charge and 2 for $20 per bag, each not to exceed 50 lbs. (23 kg), 75 linear inches (length + width + height).”

The train ride is 7h 44m. Which means it’s longer than the bus, more expensive and you wouldn’t make the connecting bus to DGO. With that said the train ride is supposed to be beautiful!

– Ride Share

You can also try Facebook or Craigslist.

Durango to Denver

– Bus

Take the Bustang from above to Grand Junction (6:32am to 1:00 pm).  The Bustang West Line #723 will take you from Grand Junction to Denver’s Union Station (3:00pm to 9:20pm).

– Train

The train leaves Grand Junction at 9:53 am and gets to Denver Union Station at 6:27 pm. Price is the same but slightly longer going eastbound, 8h 34m.

– Ride Share

Western Slope Craigslist

As an affiliate partner, One of Seven Project earns a commission for purchases made through any product, brand logo links, or banner ads on this page. Thanks for your support!

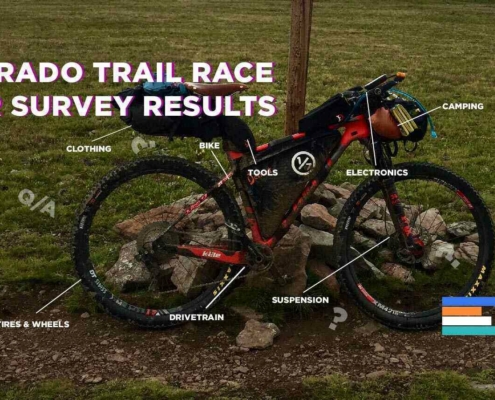
Colorado Trail Race Rider Survey

The Project conducts an ongoing rider survey to assist new riders in selecting the right gear for the Colorado Trail Race. Embarking on an adventure like the CTR can be daunting, and the planning process overwhelming. We hope this survey will aid new riders in their preparation and execution of their Colorado Trail ride, ensuring they are better equipped for their adventure.

If you haven’t taken the Colorado Trail Race Rider Survey yet, we encourage you to participate through the links below.

***Please pay close attention to the examples provided for questions requiring typed answers. If responses are not entered exactly as shown in the examples, I will need to correct them, which can skew the results. Thank you in advance!

CTR Rider Survey Results Example

Covers: bikes, suspension, tires & wheels, drivetrain, and Components.

Covers: navigation planning, camping, logistic/travel, clothes, and more.

PARKING OPTIONS

Colorado Trail Divide Transportation Guide: Know Your Parking Options

Parking can be a challenge no matter which trail you’re on, and the Colorado Trail Race is no different. You have some options, but it’s ultimately up to you to decide if you feel safe leaving your car unattended for the duration of your race or tour. The options below should help make the process a bit easier so you can focus on the trail and not your car.

Denver:

  • Waterton Canyon Trailhead: Parking is available, but you must inform Denver Water in advance. More information can be found on the Colorado Trail Foundation’s website. They also provide information on using local RV dealers as a parking option.
  • Park-n-Rides: There are multiple Park-n-Ride lots around the city. The two closest are:
    • Ken Caryl & Shaffer Pkwy Park-n-Ride, 7450 Shaffer Pkwy., Littleton
    • South Santa Fe & Mineral, 3203 West Mineral Avenue, Littleton

    The first 24 hours are free, then it’s $2.00 per day, with a 30-day limit. These are public lots without security and should be used at your own risk.

  • Denver International Airport: Parking is available with various rates and details on their website.

Durango:

  • Street Parking: There is no rule against parking on the street in Durango, but there is an “Abandoned Vehicle” law. From the time someone reports your car, you have 10 days before it’s towed. Depending on how long it takes for someone to report it, you might have enough time to get back to your car.
  • Durango Transit Center: Call (970) 375-4960 to inquire about parking. Depending on availability and circumstances, they may sell you a 1-2 week pass for their day-use lot, but there is no guarantee as this is not an official program.
  • Durango Airport: Parking is available with various rates and details on their website.

The most reliable option is to use a shuttle service or arrange for a friend or family member to help with transportation. However, coordinating with someone who doesn’t know exactly when you’ll finish can be challenging.

Another option is to ride to or from the trailhead. Both trailheads are relatively close to the airports compared to the length of the race itself.
SHIPPING / FLYING YOUR BIKE

Colorado Trail Divide Transportation Guide: To Ship or Fly With Your Bike

Deciding whether to ship or to check your bike on the plane, to get it to the start of the Colorado Trail Race, is the question. Both have their advantages and disadvantages, I’ll leave the decision up to you.  What I will do is offer some helpful information about both options to make your decision easier. You only have two options. #1 carry your bike on the plane. #2 Ship it.

Checkout our full guide on Shippling or Flying With Your Bike below.

Plane

Charges range between $50 and $150 for most airlines.  Don’t forget size limitation when boxing your bike.  Most require your boxed bike be less than 62 inches in combined size (length plus width plus height) or charges may apply.

Just like with resupplying doing your homework pays off when flying.  If you’re willing to look, there are “hacks” to get around paying for traveling with your bicycle.  With so many airlines, there’s to many for me to research, but don’t hesitate to do some research yourself.  You just might find a deal.

Ship

Shipping allows you some flexibility in how you get your bike to and from the race.  Typically you have three options:

  • DIY: Personally box & ship (costs range but start around $70-200 for a cardboard box, but actual cost is determined on weight, size and location).
  • Bike Shop: Outsource to your local bike shop.
    • $50 to box (prices vary)
    • Plus shipping cost (costs range but start around $70-200 for a cardboard box, but actual cost is determined on weight, size and location).
  • Shipping Company: Use Bike Flights
    •  Boxes, Pick up, Delivery, Insurance, Tracking and more!  Amazing service, worth checking out.
    • Adventure Cycling Association – receive 10% discount on boxes and cases at Bike Flights, along with a list of other discounts from other companies.

Bike Flights is an affiliate partner. This means by clicking their logo above and booking your bike shipment you’ll be supporting the Project. Thanks!

Shipping or Flying With Your Bike

Shipping or flying with your bike is a crucial part of the logistics for an international bikepacking trip. To ensure your bike arrives safely and without extra costs, check out our detailed Guide on Shipping or Flying with Your Bike, where we cover everything from avoiding airline fees to preventing damage and handling transit hassles.

BAILOUT OPTIONS

Colorado Trail Divide Transportation Guide: Bailouts Should be Park of Your Plan

The Colorado Trail Race is an incredibly hard route and as statics show about only half of those who start it finish. This means bailing out off trail or in a small town. This section offers racers/riders transportation options to get to a major hub so they can get home. Knowledge of your route is important, for more CTR information checkout our CTR Resource page.

BRECKENRIDGE 

Breck is probably the easiest place to get out of. GO Breck website has a whole list of options.

You can also rent a car here too. Breckenridge Rental Car

COPPER MTN

Some of the same options listed above in the Go Breck link above service Copper Mtn. That said, your best course of action is to jump on the free shuttle in Copper and take it to Breck. You’ll have more options for food, lodging, and travel. Use the Transit App for routes and schedules.

LEADVILLE

The Transit App works for Leadville as well. You can take a bus to Breckenridge from here.

BUENA VISTA

Amtrak offers a bus service once a day to Denver International Airport. It’s a third party bus and most likely does not allow bicycles. You’d have to ship your bike before you left town.

Bustang offers a bus service from here to Denver.

SALIDA

Amtrak offers a bus service once a day to Denver International Airport. It’s a third party bus and most likely does not allow bicycles. You’d have to ship your bike before you left town.

The same bus service from Bustang in Buena Vista makes a stop here as well.

SILVERTON

San Juan Backcountry has a bus that will get you to Durango.

The Colorado Trail Fountain has a shuttle list one can use as well. Another resource is the Farout App. If you look in the comments section under certain POI hikers/bikers will list trail angels / shuttles.

Support the Colorado Trail Foundation

Although the Colorado Trail Foundation is not affiliated with the race, they are the dedicated stewards responsible for managing and maintaining the trail. Thanks to their efforts and the support of their members, we have the privilege of enjoying this incredible trail. Please consider donating, become a member, or joining a work crew of the Colorado Trail Foundation to support their ongoing work and ensure the trail remains in excellent condition.

Colorado Trail Logo- One of Seven Project - colorado trail guide Planning Aids

More Helpful CTR Resources

Everything you need to plan a bikepacking trip on the CTR.

Colorado Trail Planning Aids: Resupply, Mileage, and More

Colorado Trail: My Prove Triple Crown Bikepacking Gear

A detailed look at what I used on the CTR, what worked and what didn’t.

Colorado Trail Gear: What Worked Well and What’s Even Better

  • Proven Bikepacking Gear | Tested during the Colorado Trail Race & Triple Crown

In depth look at what I would bring for gear and why, if I rode the CTR again.

Colorado Trail Rider Survey: Essential Gear Insights for New Riders

  • Insights from the Colorado Trail Rider Survey, gathering real data from bikepackers about their experiences racing the CTR.

Curios to know what gear other riders used to get to the finish line? Checkout our Rider Surveys to find out what works or to take the survey yourself.
Ultimate Guide to Colorado Trail

Route, Resources, and More


Colorado Trail bikepacking Craig Fowler- Bikepacking lessons

The Colorado Trail Race FAQ is the ultimate one stop to answer all your questions.