As an affiliate partner, One of Seven Project earns a commission for purchases made through any product, brand logo links, or banner ads on this page. Thanks for your support!

Cook Set Up

Over the years I have used many different Cooking Set Ups for hiking and bikepacking. As my experience grew and confidence grew, my cooking set up changed too. I wanted to show the progression of my cooking set up, with pros and cons, and debate which one works best for which situation.

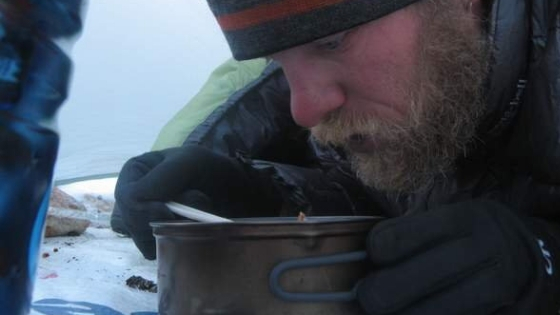
Cooking like so many things with hiking or bikepacking is a personal decision and everyone has on opinion on the subject. I’m definitely one who wants a hot meal at the end of a long day. The only time I don’t cook is when I’m bikepack racing. I also only cook dinner. In my early days I would cook breakfast (oatmeal) if it was cold.

For some, cold soaking is an opinion, but I can’t even entertain the idea. Keep reading to explore the progression of my cooking set up and learn what worked for each and what didn’t.

Do you find this page valuable?

Shopping with our affiliates helps fund the development of content like this.

Cook Set Up Progression

I started hiking with a 1.3 liter pot and the MSR Whisperlite International, which is one of the most versatile stoves ever made. At the time it was fine for my beginner hiking style. With its ability to burn multiple fuels, easy set up and serviceability it was a great stove for a first time hiker/backpacker.

When taken as a whole, stove and fuel bottle, , this system was not a compact and simple enough for my advancing skills.

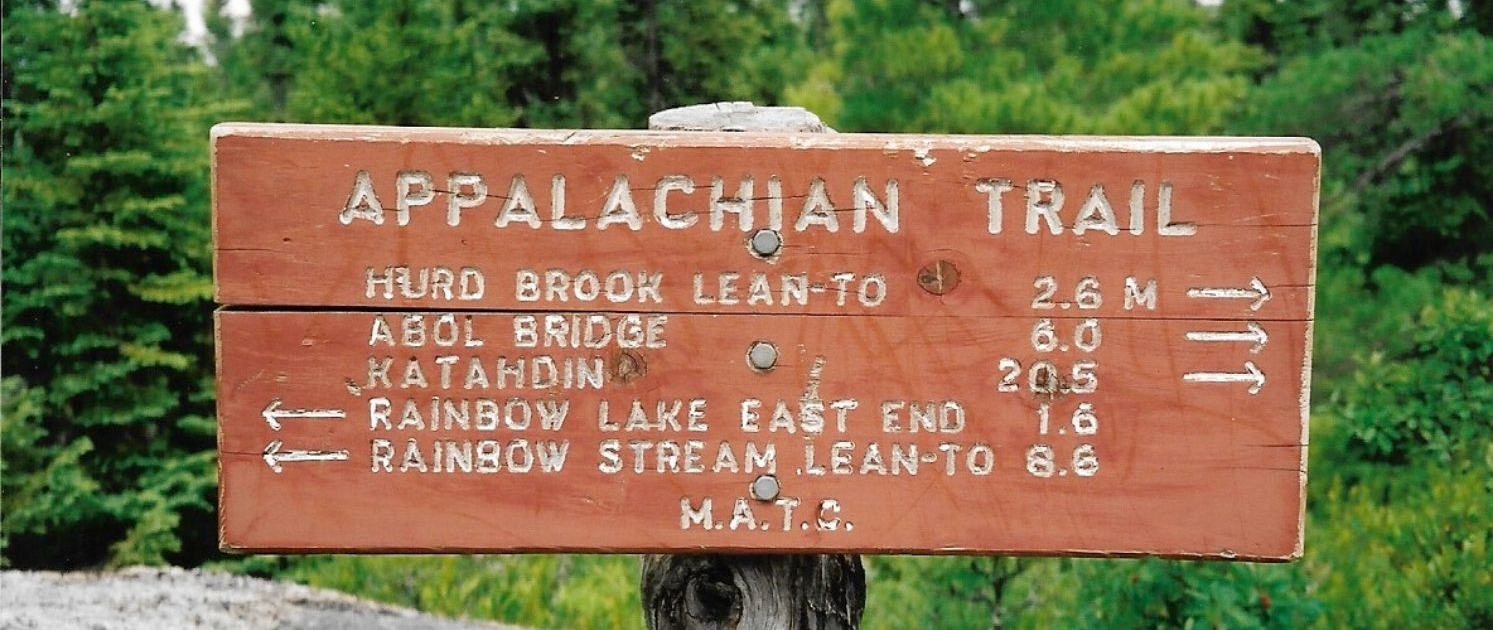
By the time I got to the Appalachian Trail my hiking and technology had advance. The Whisperlite, with its priming, maintenance, large fuel bottle and bulkiness, was outdated for the AT and my needs. I switched to the MSR Superfly.  It was smaller, lighter, more compact, and took less time to operate. The Superfly was great, but personally found some drawbacks (stability and it was susceptible to wind). My hiking continued to progress and as it did, I wanted more from my hiking cook set up, so I continued to refine it. While on the AT I made and attempted to use an alcohol stove. The results weren’t great so I went back to the Superfly.

After the Appalachian Trail I made another soda can stove for my thru-hike of the Long Trail. I had my doubts at first but finally stuck with it. I also down sized my pot to a .9 liter Evernew Titanium. For just one person I didn’t need the 1.3 liter.
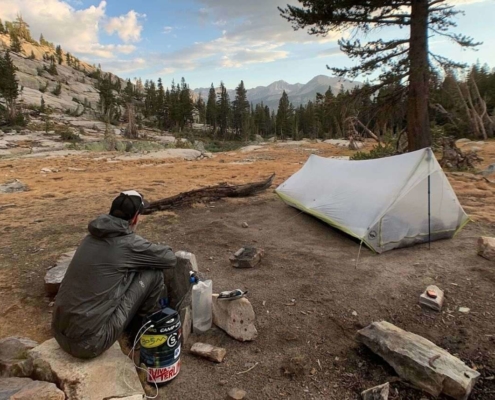
My early soda can stove set up was my pot, spoon, stove, knife, and a piece of tin foil for a windscreen. I would set my stove on the ground then rest my pot directly on top.  This was precarious at best.  Spillage was always a concern. If the ground wasn’t perfectly flat or I tried to stir my food without holding the pot it would easily fall over. Since I’m carrying limited food and that fact no one ever wants to spill their dinner on the ground, the system wasn’t perfect yet.

I started the PCT with this tippy, yet simple set up. It didn’t take long for holes to form in the tin foil form folding it up every night. Then one night another hiker showed me their cook set up and completely addressed the stability issue while also blocking wind. I called my dad at the next town and he shipped me what became my current set up you see to the right. The whole process was to simplify and lighten my pack weight. My other goals were simplicity, wind protection, stability, and minimum weight and care. At the end of the day you don’t want cooking to be hard.

Craig Fowler - Scatman Cooking on the PCT - Hiking Cook Set Up

My alcohol cook set up is basically aluminum flashing with holes punched on the bottom for air flow, then four more holes near the top for two stakes to slide through.  These stakes make a resting spot for my pot which is just above my alcohol stove, ensuring an equal flame coverage. The windscreen protects from the wind and acts as a pot stand at the same time. My stove, lighter and bandana all fit inside my pot. While the two stakes and titanium spork go in the stuff sack. Lastly, I wrap the flashing around the pot itself. All in all it’s quite compact.

If you want more information on alcohol stoves or how to make your own stove/windscreen visit the Zen Backpacking Stoves website. Also a web search for “alcohol stoves” will bring up endless styles and configurations of stoves and how to make them. There are tons of videos online on Youtube as well.

Good luck planning, building and using your own set up!

While on the John Muir Trail in 2019, I finally after years of considering it, decided to switch back to an ISO butane stove. In early 2020 I got a Snow Peak Litemax stove, 700 ml mug and a long spoon so I could try bag cooking.

My decision to make the switch back was mostly due to boil times and the finickiness of my very old alcohol stove. The decision to try bag cooking (Boiling water in pot, then pouring it into heat resistant bag with food, and letting it cook inside), was to make camp life simpler (no dishes).

1994 – 2000

Pros – sturdy, versatile, repairable, burns hot, adjustable flame

Cons – heavy, bulky, complex

The MSR WhispeLite International (or WhisperLite Universal which I have now) is a great stove for backcountry or international travel. You can’t beat the serviceability and versatility of these stoves. For my personal needs and uses, I can’t see the need for them, unless I was winter hiking.

2001 – 2003

Pros – adjustable flame, lightweight, simple, compact

Cons – affected by wind, generate trash (fuel canister), fuel availability

You can’t beat the simplicity and size of an ISO butane stove. They put out amazing heat and work well in most conditions. They are definitely the easiest type of stove to use. With my current goal being more miles and a simpler camp experience, ISO stoves fit the bill perfectly.

2003 – 2019

Pros – lightweight, small, no moving parts, versatile (fuel)

Cons – long boil  time, hard to put out, elevation effects it, non adjustable flame

Alcohol stoves are the smallest and simplest but they do have drawbacks. If you can look past the slower boil times and effects of altitude and weather have on them, they might be the stove for you. For years I did and loved my alcohol stove. There is a learning curve to finding the right set up and fuel amount, but if you find the right combination, they can be great stoves.

2020 – Present

Pros – adjustable flame, lightweight, simple, compact, no cleaning dishes

Cons – affected by wind, generate trash (fuel canister), fuel availability

Bikepacking Cook Set Up

So far I have only used a stove on half of my bikepacking adventures. During those times I have used both my alcohol stove and an ISO butane (Superfly). The times I have used a stove have been on casual tours, so a fast boiling time wasn’t a necessity for me. The main concern was compatibility. Space is a premium with most any bikepacking set up, so the size of one’s cook set up is a major concern.

My new cooking set up is the most compact yet. The stove, fuel bottle, lighter, and bandana all fit inside the 700 ml mug. With it’s tall and narrow frame, it fits in more places than your typical lower and wider pots. This adds even more versatility to the set up.

Snow Peak Starter Kit - Cooking Set Up

As an affiliate partner, One of Seven Project earns a commission for purchases made through any product, brand logo links, or banner ads on this page. Thanks for your support!

MORE RESOURCES

Read these next or checkout the main resource page.

MY PROVEN GEAR LISTS FROM THE TRIPLE CROWN

Gear lists from the AT, PCT and CDT; Pros & Cons; Things I’d do different; and Tips.

IF I HIKED… SERIES

In depth look at what I would bring for gear and why, if I hiked the AT, PCT, LT, and CDT.

Scott Richardson - Baker Pass - Shakedown Hike
most-common-mistakes-thru-hikers-make
Ultralite hiking - Wind River Range - Wyoming
Craig Fowler packs of the triple crown - Cutting Pack Weight. hiking resources

Checkout our bikepacking resource page for more planning help.

CHECKOUT ALL OUR GUIDES

Arizona Trail Logo - azt - aztr
Tour Divide/Great Divide MTB Route Logo - tour divide guide Planning Aids
Colorado Trail Logo- One of Seven Project - colorado trail guide Planning Aids
Kokopelli Trail Logo - Kokopelli Trail Guide - Bikepacking
TRAIL-BADGE-coconino-red-x215
Pemi Loop Logo - hiking - guides - HIKING GUIDES

Support the Project

Simply clicking on the links below with our affiliates supports the Project.

Or checkout our Deals page to save big!

Rei logo
competitive cyclist
affiliate-gossamer gear
Outdoor Research - Technical Outdoor Gear & Apparel
Amazon - Clothes, Electronics, Sports Gear & Apparel, Automotive, Toys, Books, Music
msr sponsor support - about
Platypus hydration evolved - hydration packs - filters - water storage - about -FINISH TIME CONTEST
Sealline logo marker of waterproof storage - about - FINISH TIME CONTEST
thermarest sponsor support - about
affiliate-Showers Pass logo
Jefe Velo bikepacking gear and accessories
Affiliate-Lasportiva
Bike Flights - shipping bikes

As an affiliate partner, One of Seven Project earns a commission for purchases made through any product, brand logo links, or banner ads on this page. Thanks for your support!