As an affiliate partner, One of Seven Project earns a commission for purchases made through any product, brand logo links, or banner ads on this page. Thanks for your support!


Knowing how to prevent and treat blisters can save your hike. The biggest cause of blisters is wet feet and friction. Both can be dealt with to eliminate one from getting blisters. Your feet get wet from the thousands of glands each contains. Excessive sweating will greatly increase your chances of getting blisters, which can lead to infections, foot odor, nasty footwear, and in cold conditions frostbite. Friction is the major leading factor to blisters. Proper shoes, sock liners, and use of tape or moleskin can prevent friction.
The best way to avoid either of these issues is prevention. This is not an easy task when you’re trying to cover miles while in the backcountry. Over the thousands of miles I’ve hiked, I’ve learned some tricks to ensure my miles are blister free. Read on to learn how to prevent and treat blisters and enjoy blister free hiking.
Shopping with our affiliates helps fund the development of content like this.
6 Steps To Blister-Free Bliss
The first defense against blisters is to not get them, stop them before they form. As the old saying goes, Prevention is the best Medicine.

Treatment
To treat a blister, dermatologists recommend the following:
If you determined the best course of action is to pop and drain your blister, you should first check for signs of infection. If your blister is oozing yellow or green pus, becomes swollen or inflamed, and call/see a doc. If there are no signs of infection, foll0w the below steps:
Be sure to watch for signs of infection as your blister goes through the healing process. If you notice redness, pus, or suffer from increased pain or swelling, see a doctor.
Items you’ll need:

In the end, it’s all about finding the right shoes and shocks that feet your feet or using the prevention methods discussed above. Then this post would only be called How to Prevent Blisters instead of How to Prevent and Treat Blisters. Unfortunately not everyone can find that perfect fit. At least now you know what to do when you do get a blister.

Read these next or checkout the main resource page.
Gear lists from the AT, PCT and CDT; Pros & Cons; Things I’d do different; and Tips.
In depth look at what I would bring for gear and why, if I hiked the AT, PCT, LT, and CDT.
 https://oneofsevenproject.com/wp-content/uploads/2020/04/rsz_1untitled_design_83.jpg
857
1493
Craig Fowler
http://oneofsevenproject.com/wp-content/uploads/2017/01/1of7-logo-lockup-grey-1132x212-300x56.png
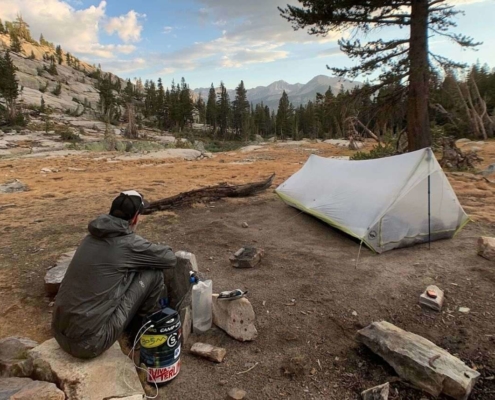
Craig Fowler2020-04-21 12:02:372024-06-20 09:17:19How to Pick the Perfect Campsite
https://oneofsevenproject.com/wp-content/uploads/2020/04/rsz_1untitled_design_83.jpg
857
1493
Craig Fowler
http://oneofsevenproject.com/wp-content/uploads/2017/01/1of7-logo-lockup-grey-1132x212-300x56.png
Craig Fowler2020-04-21 12:02:372024-06-20 09:17:19How to Pick the Perfect Campsite https://oneofsevenproject.com/wp-content/uploads/2019/12/LC4-23.jpg
857
1493
Craig Fowler
http://oneofsevenproject.com/wp-content/uploads/2017/01/1of7-logo-lockup-grey-1132x212-300x56.png
Craig Fowler2019-12-28 18:36:142024-06-20 13:20:24Top 5 Reasons Thru-Hikers Quit
https://oneofsevenproject.com/wp-content/uploads/2019/12/LC4-23.jpg
857
1493
Craig Fowler
http://oneofsevenproject.com/wp-content/uploads/2017/01/1of7-logo-lockup-grey-1132x212-300x56.png
Craig Fowler2019-12-28 18:36:142024-06-20 13:20:24Top 5 Reasons Thru-Hikers Quit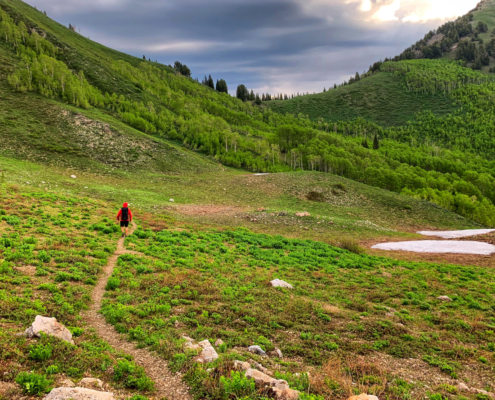 https://oneofsevenproject.com/wp-content/uploads/2019/07/2019-2020-BIKEPACKING-CALENDAR-2.png
890
1335
Craig Fowler
http://oneofsevenproject.com/wp-content/uploads/2017/01/1of7-logo-lockup-grey-1132x212-300x56.png
Craig Fowler2019-07-02 12:41:322024-06-20 13:21:18Shakedown Hike
https://oneofsevenproject.com/wp-content/uploads/2019/07/2019-2020-BIKEPACKING-CALENDAR-2.png
890
1335
Craig Fowler
http://oneofsevenproject.com/wp-content/uploads/2017/01/1of7-logo-lockup-grey-1132x212-300x56.png
Craig Fowler2019-07-02 12:41:322024-06-20 13:21:18Shakedown Hike https://oneofsevenproject.com/wp-content/uploads/2019/02/rsz_img_0380.jpg
857
1493
Craig Fowler
http://oneofsevenproject.com/wp-content/uploads/2017/01/1of7-logo-lockup-grey-1132x212-300x56.png
Craig Fowler2019-02-10 16:18:032024-09-11 07:44:47Most Common Mistakes Thru-hikers Make
https://oneofsevenproject.com/wp-content/uploads/2019/02/rsz_img_0380.jpg
857
1493
Craig Fowler
http://oneofsevenproject.com/wp-content/uploads/2017/01/1of7-logo-lockup-grey-1132x212-300x56.png
Craig Fowler2019-02-10 16:18:032024-09-11 07:44:47Most Common Mistakes Thru-hikers Make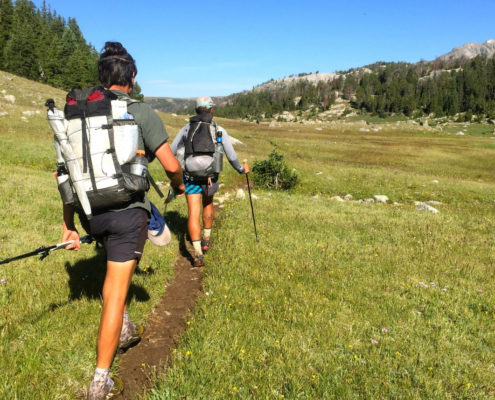 https://oneofsevenproject.com/wp-content/uploads/2019/01/Untitled-design-49.jpg
857
1493
Craig Fowler
http://oneofsevenproject.com/wp-content/uploads/2017/01/1of7-logo-lockup-grey-1132x212-300x56.png
Craig Fowler2019-01-04 19:25:492024-06-20 13:22:49Mental Side to Going Ultralight
https://oneofsevenproject.com/wp-content/uploads/2019/01/Untitled-design-49.jpg
857
1493
Craig Fowler
http://oneofsevenproject.com/wp-content/uploads/2017/01/1of7-logo-lockup-grey-1132x212-300x56.png
Craig Fowler2019-01-04 19:25:492024-06-20 13:22:49Mental Side to Going Ultralight https://oneofsevenproject.com/wp-content/uploads/2012/06/Untitled-design-47.jpg
857
1493
Craig Fowler
http://oneofsevenproject.com/wp-content/uploads/2017/01/1of7-logo-lockup-grey-1132x212-300x56.png
Craig Fowler2012-06-07 18:34:512024-06-20 13:23:42Cutting Pack Weight
https://oneofsevenproject.com/wp-content/uploads/2012/06/Untitled-design-47.jpg
857
1493
Craig Fowler
http://oneofsevenproject.com/wp-content/uploads/2017/01/1of7-logo-lockup-grey-1132x212-300x56.png
Craig Fowler2012-06-07 18:34:512024-06-20 13:23:42Cutting Pack Weight


Simply clicking on the links below with our affiliates supports the Project.


